Configure External Authentication using Azure Active Directory
InfinStor service uses a Cognito User Pool for authenticating users. This Cognito User Pool may be configured to use external authentication databases. Examples of such databases are:
- Google Oauth2
- Azure Active Directory using SAML2
This page describes, in detail, the process for configuring your InfinStor service instance to use Microsoft Extra ID(previously known as Azure Active Directory), as a SAML2 authentication provider
Step by Step configuration
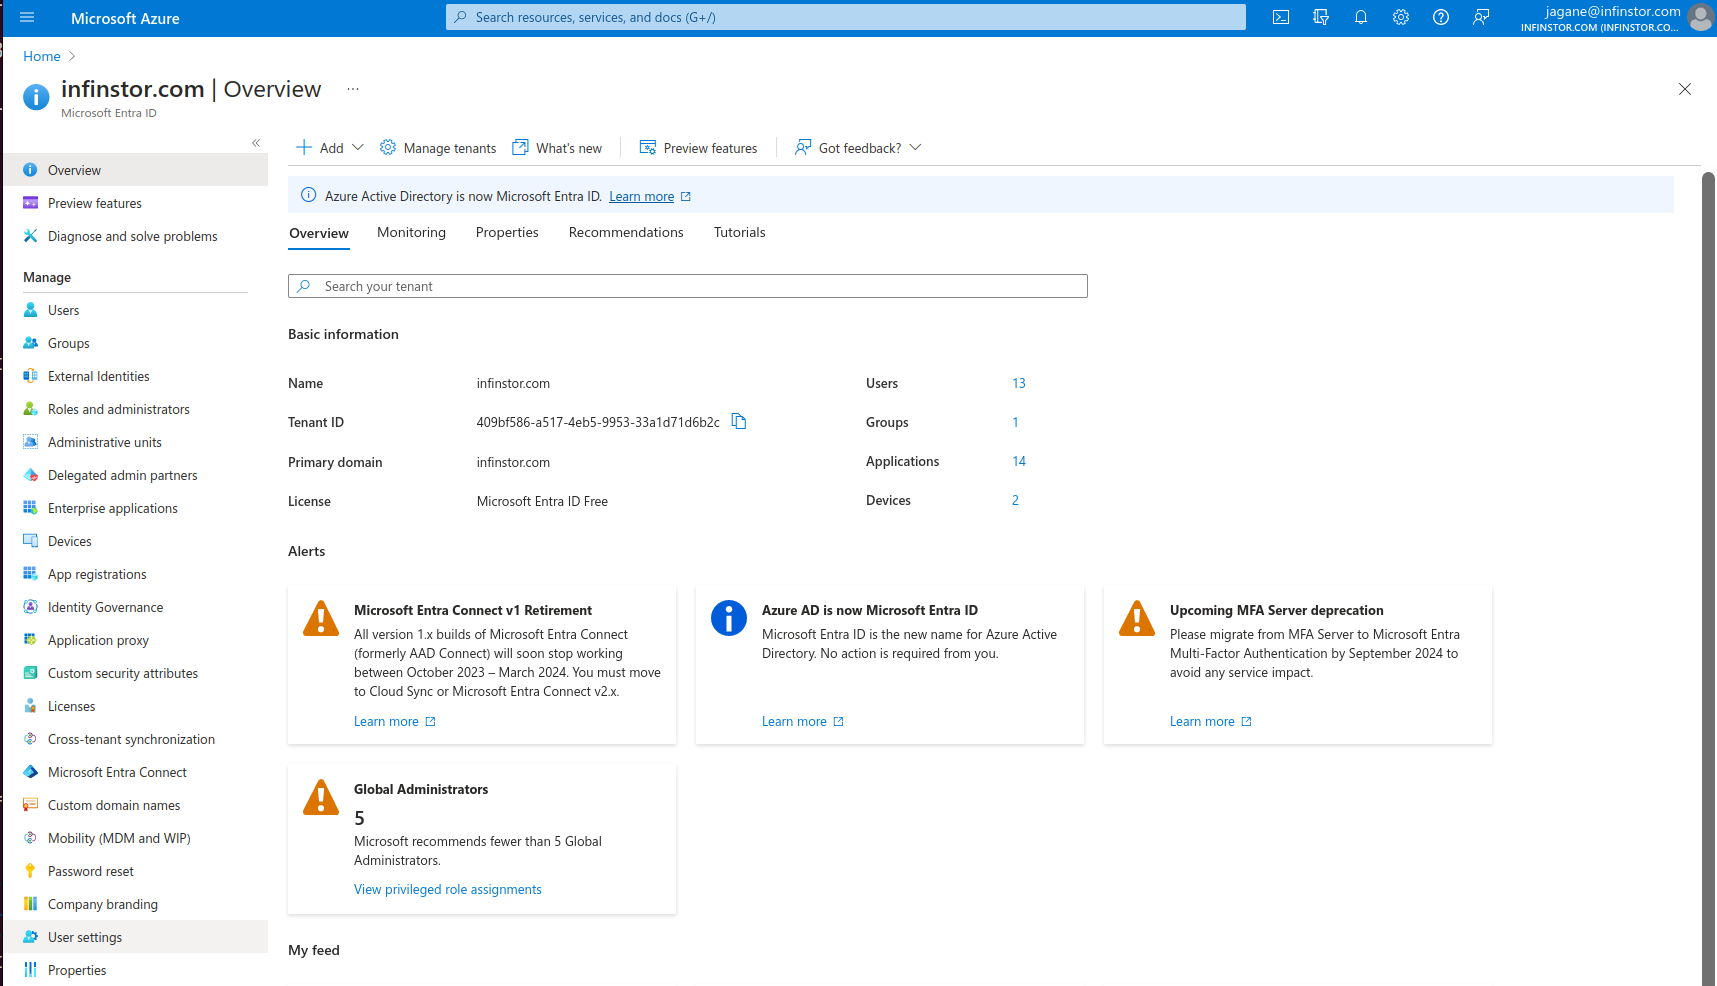
Go go the Azure console - Click here(new tab)
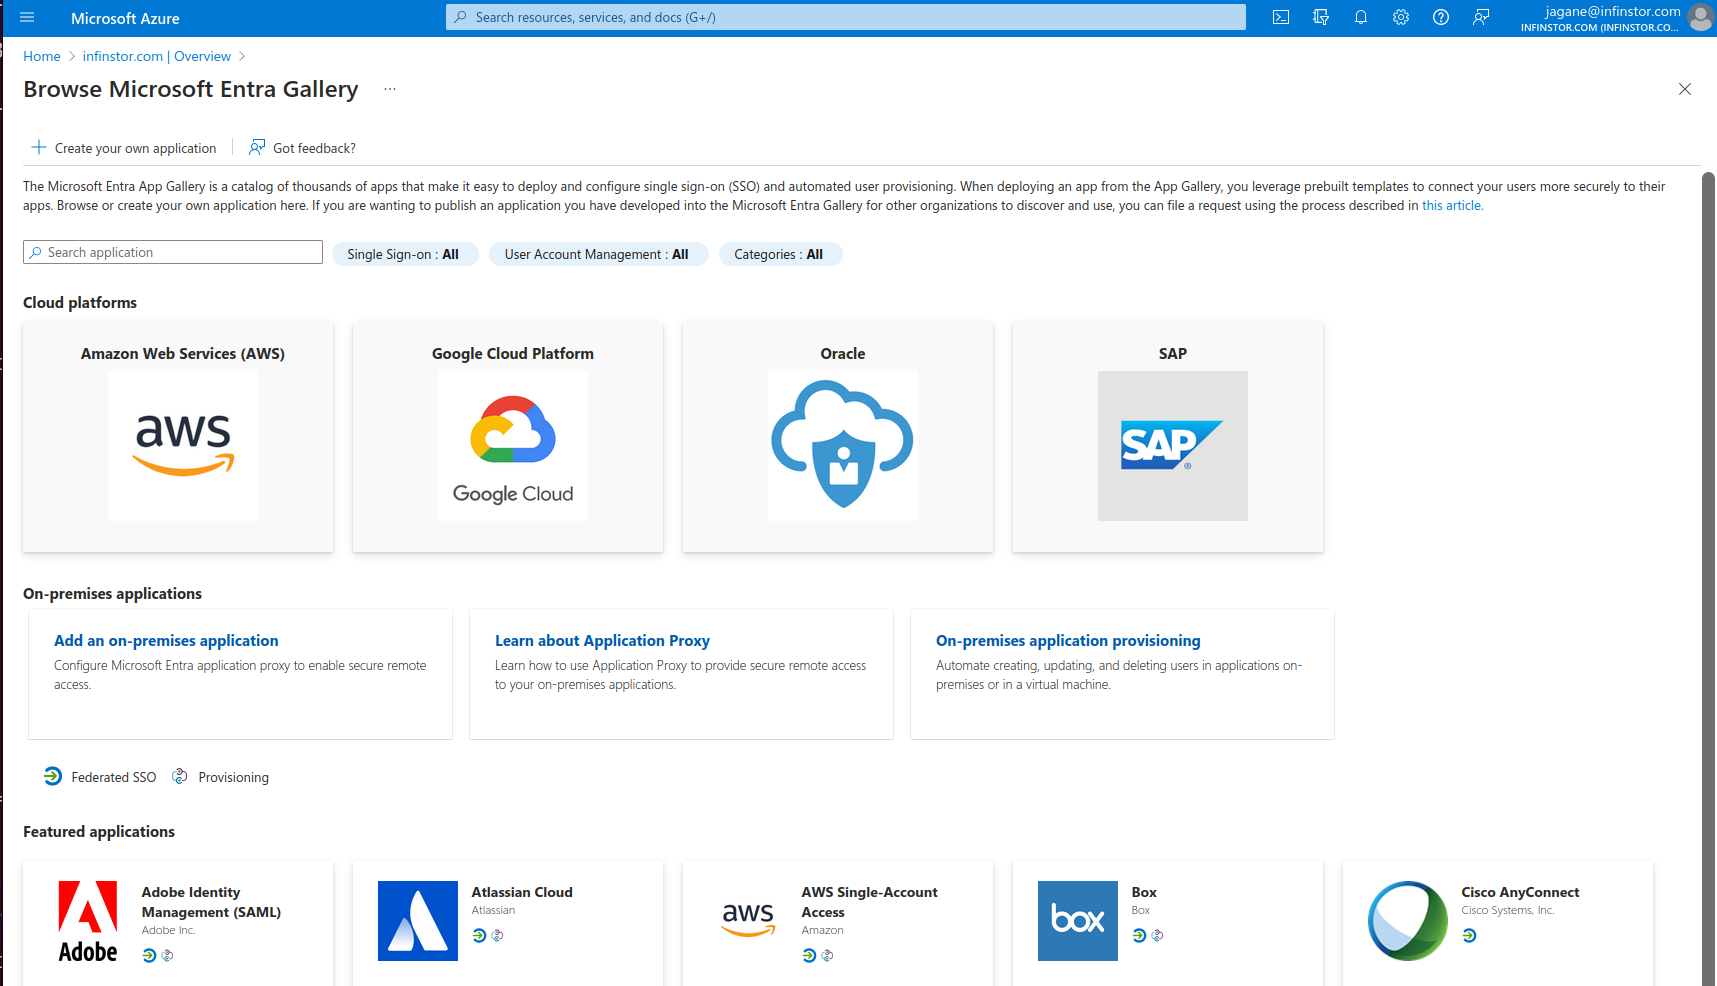
Go to the Microsoft Extra ID console and click on +Add and choose Enterprise Application from the drop down.
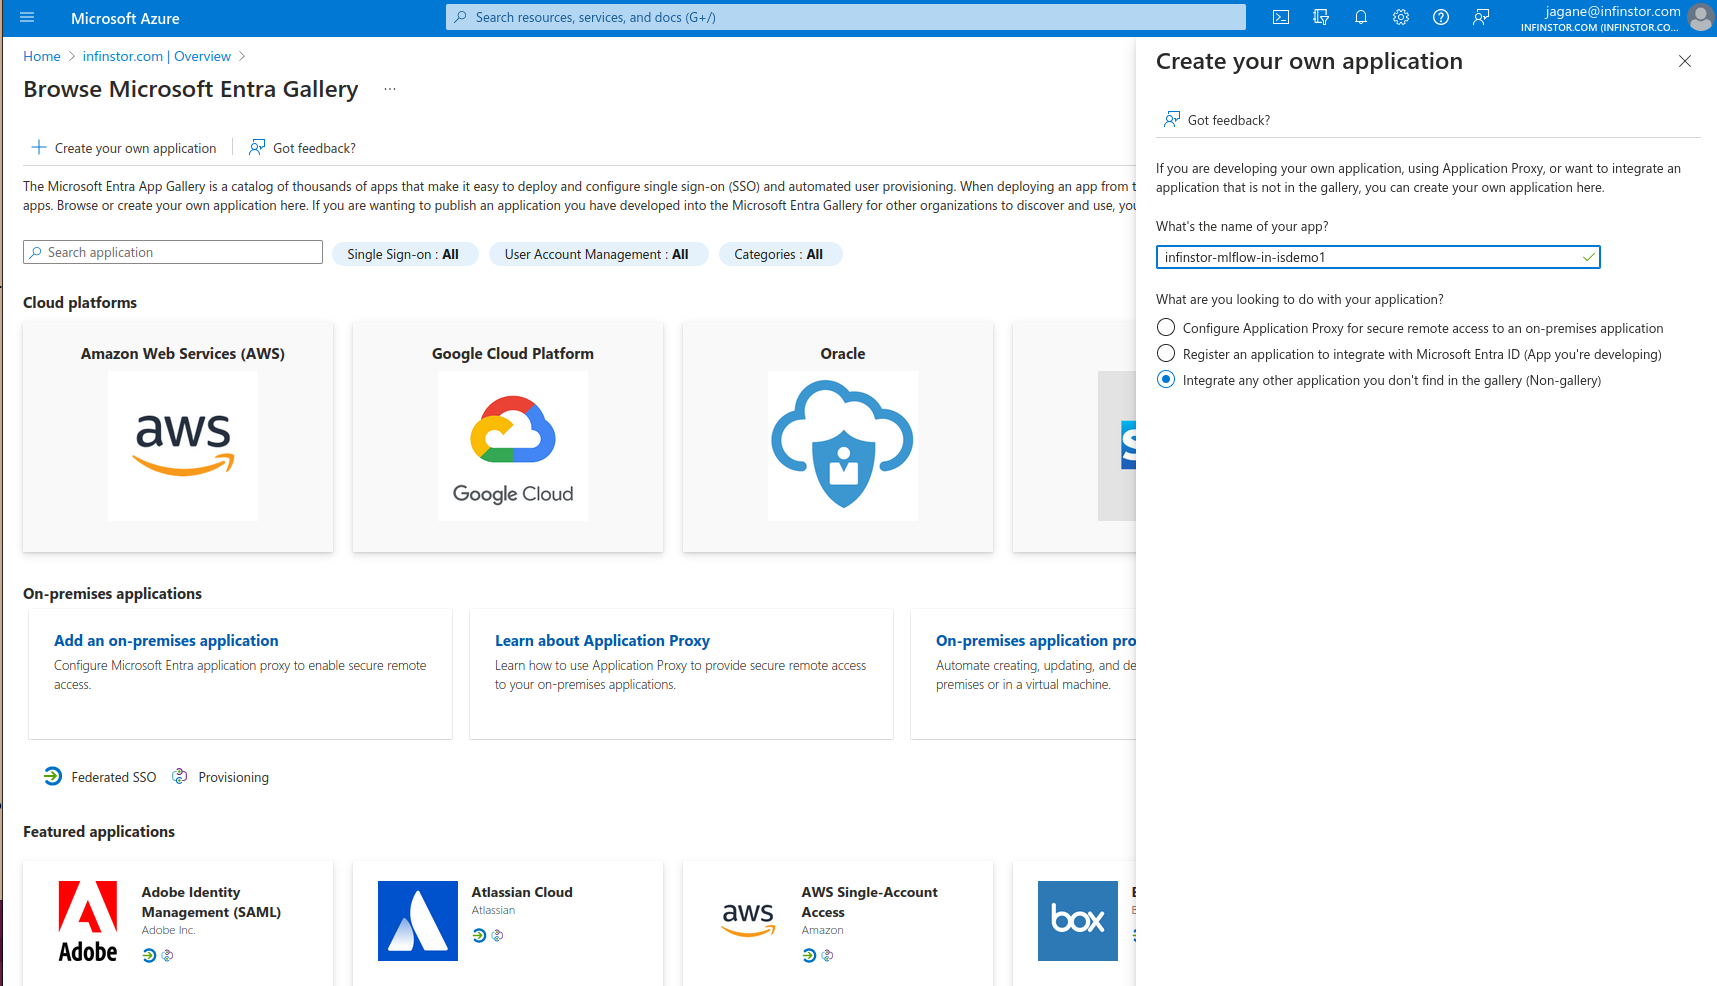
Now choose Create your own application as shown below
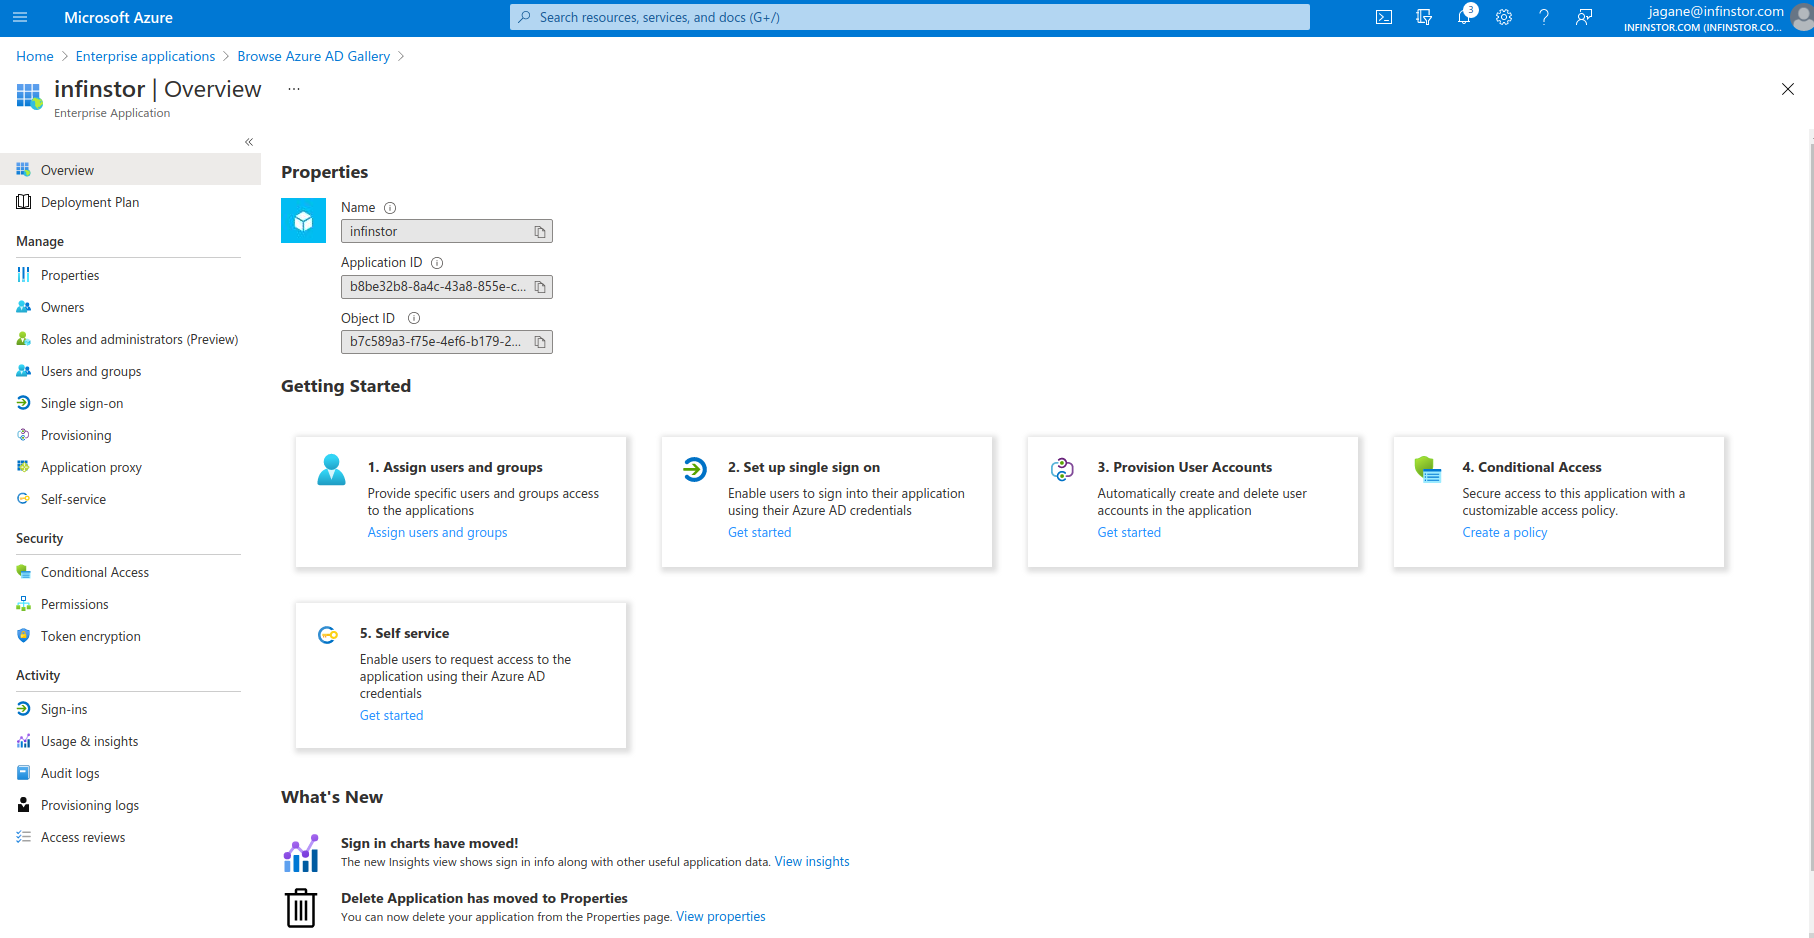
Once this new Enterprise Application has been created, click on '1. Assign users and groups' and choose users who will have access to the InfinStor platform
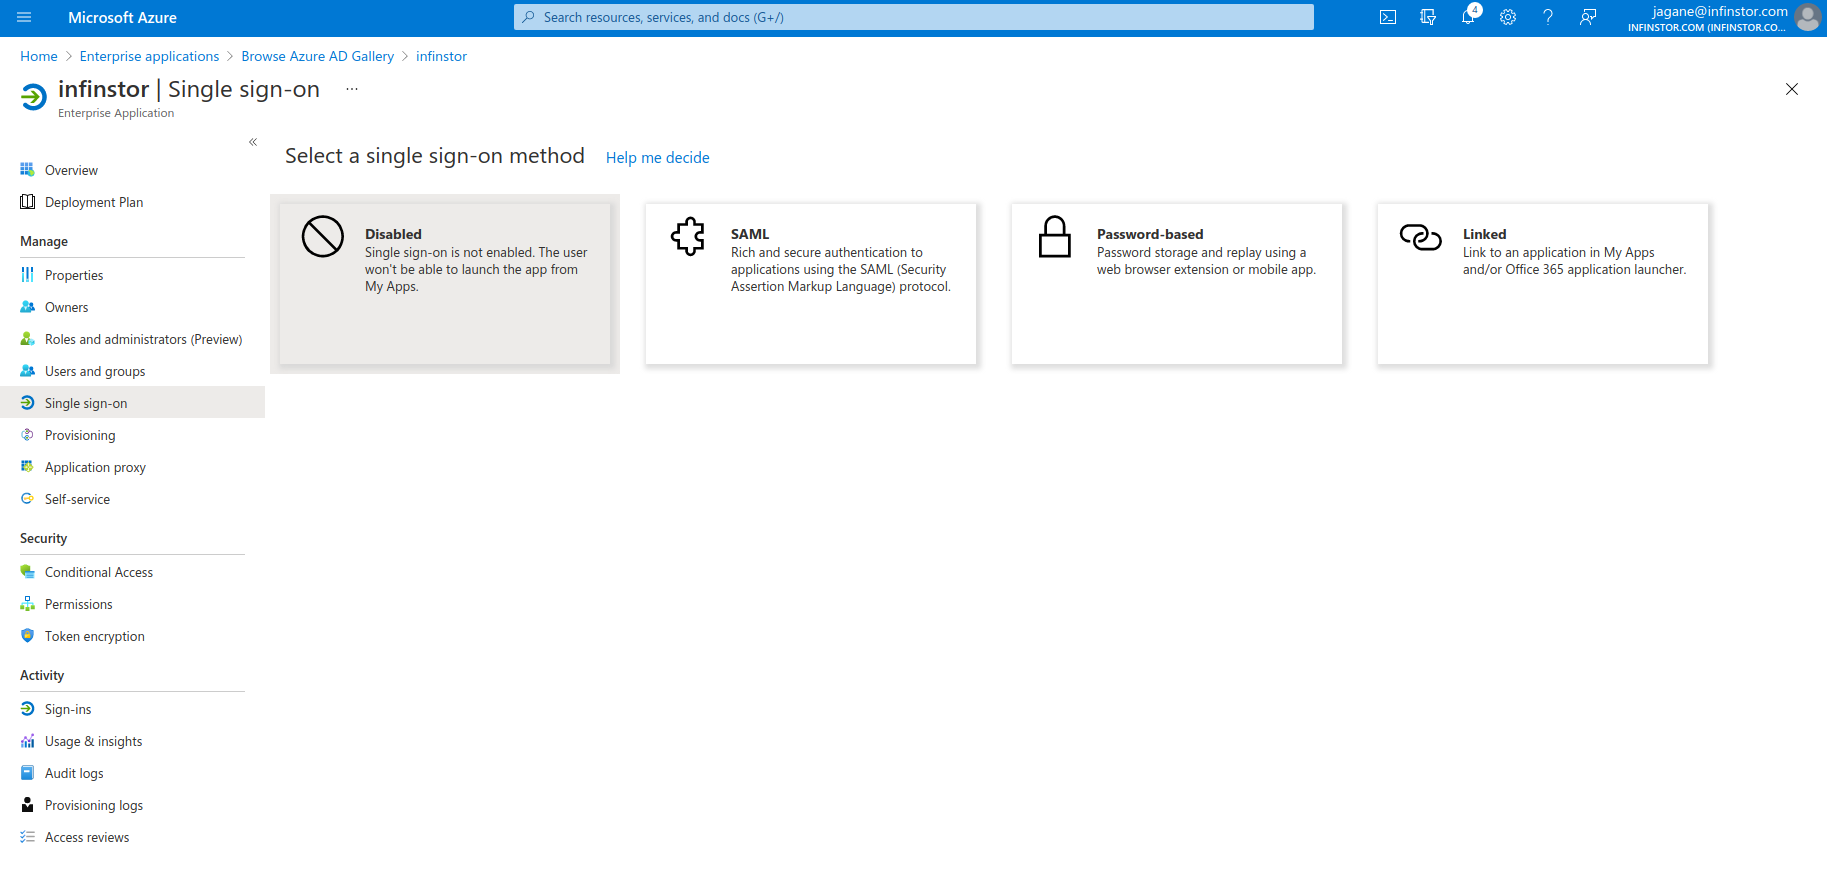
Next, configure the new Enterprise Application for Single Sign On. In this example, we use SAML.
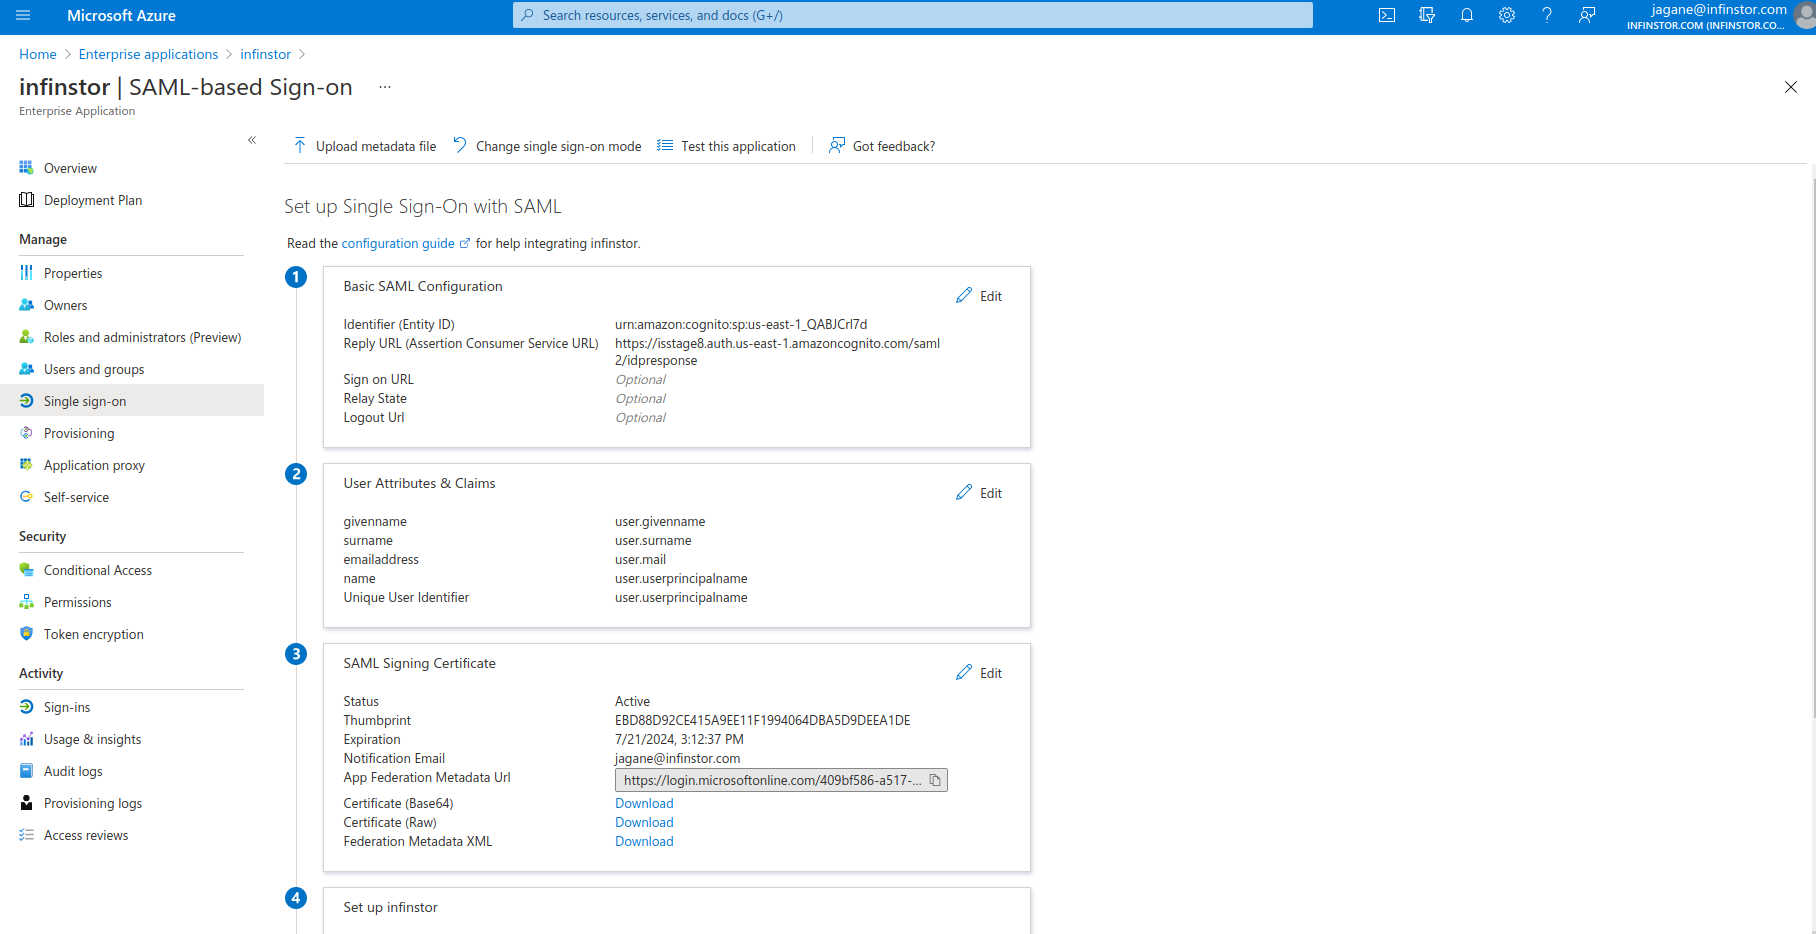
There are two parameters that you need to obtain for configuring Single Sign On - the Identifier (Entity ID) and the 'Reply URL'. These are the first two items in the following screen capture

Back in the AWS Console, go to the CloudFormation console and click on the infinstor-cognito nested stack. Look at the outputs tab. The two entries of interest here are the SamlEntityId entry and the SamlReplyUrl entry
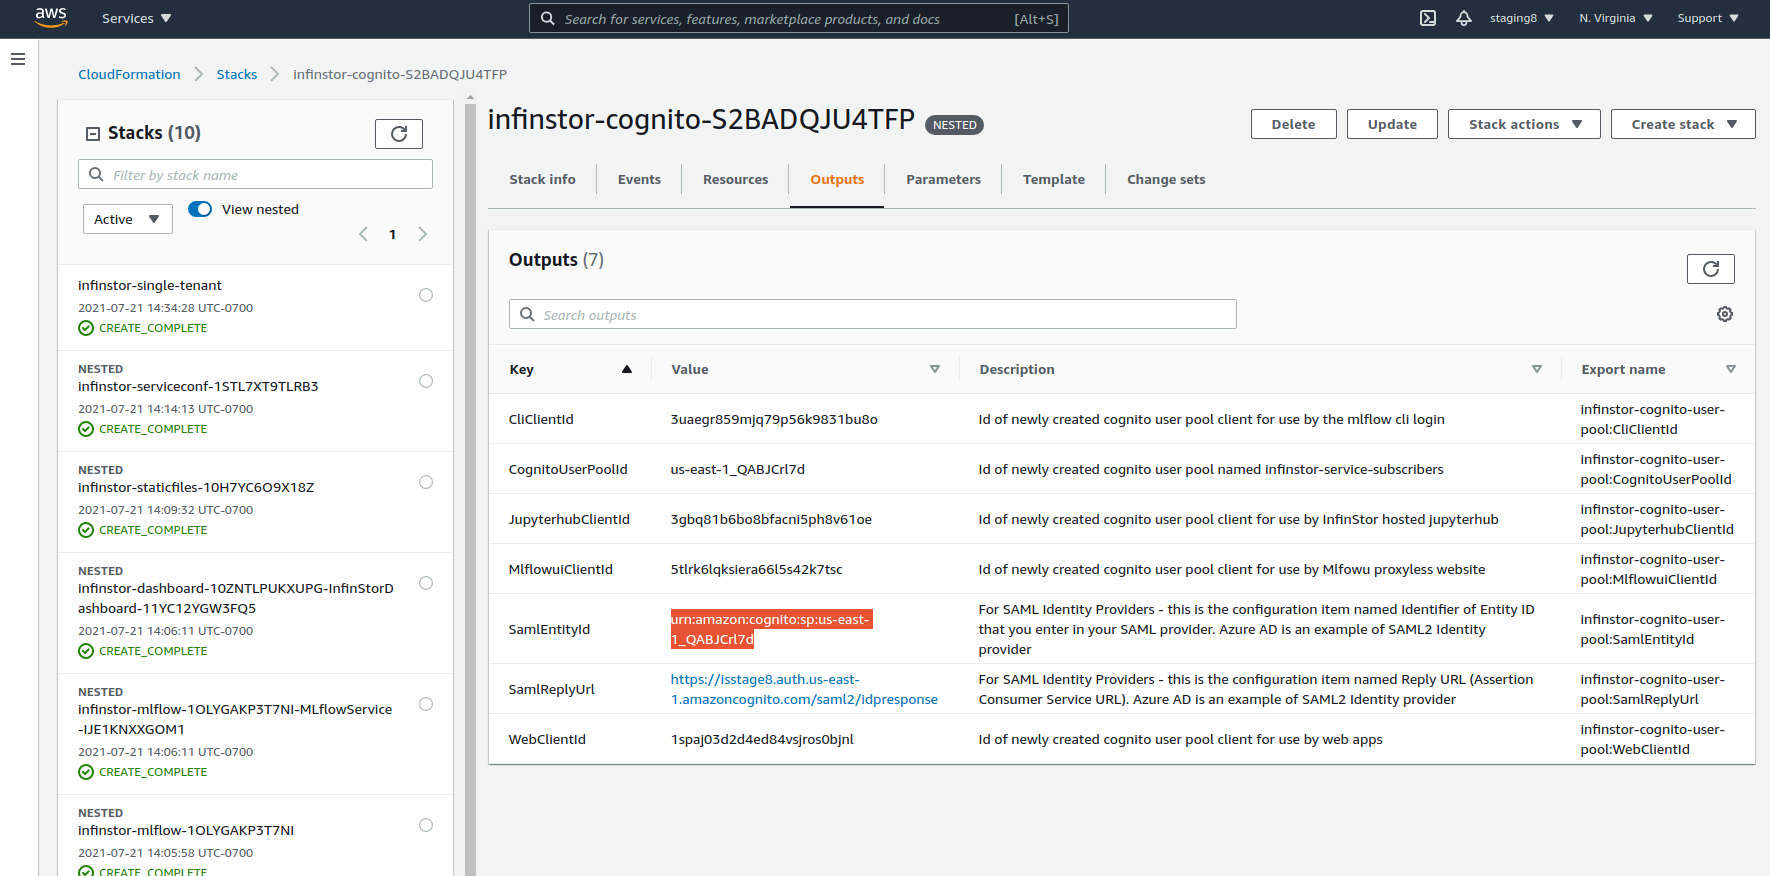
Copy the SamlEntityId from the AWS Cloudformation Console and enter it into the Identifier (Entity ID) entry of Azure Active Directory Enterprise Application SAML Single Sign On config page. Do the same for SamlReplyUrl
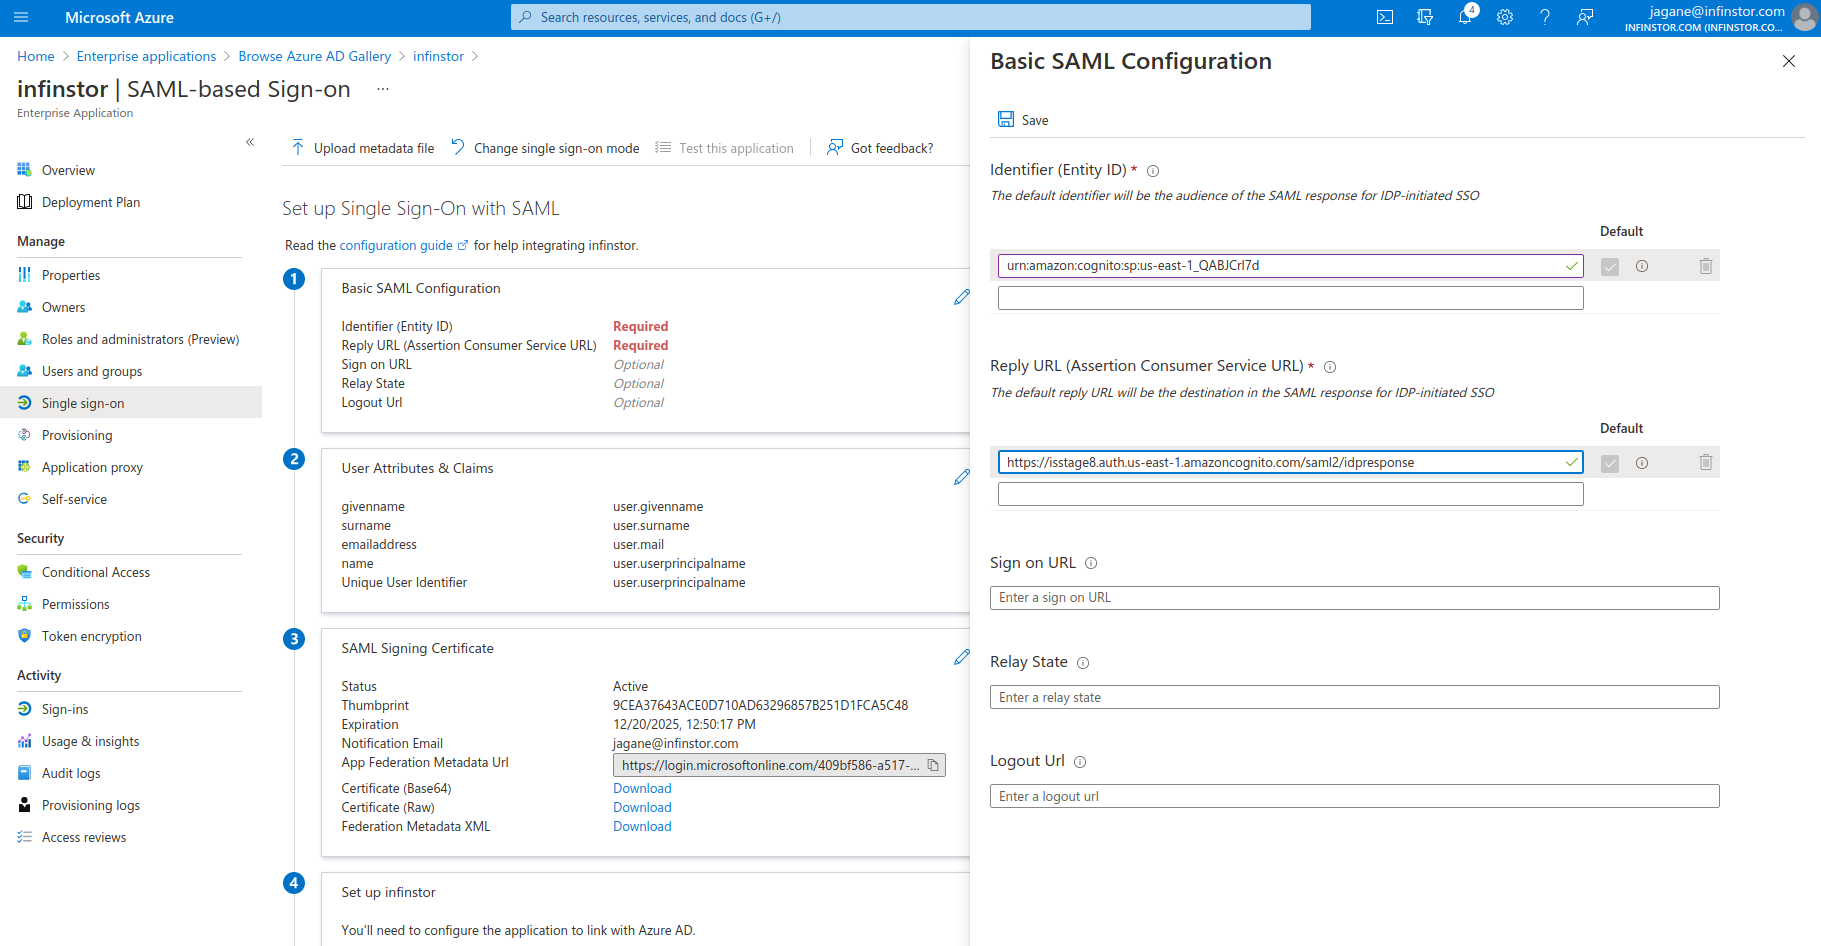
Click on the 'Federation Metadata XML' Download button
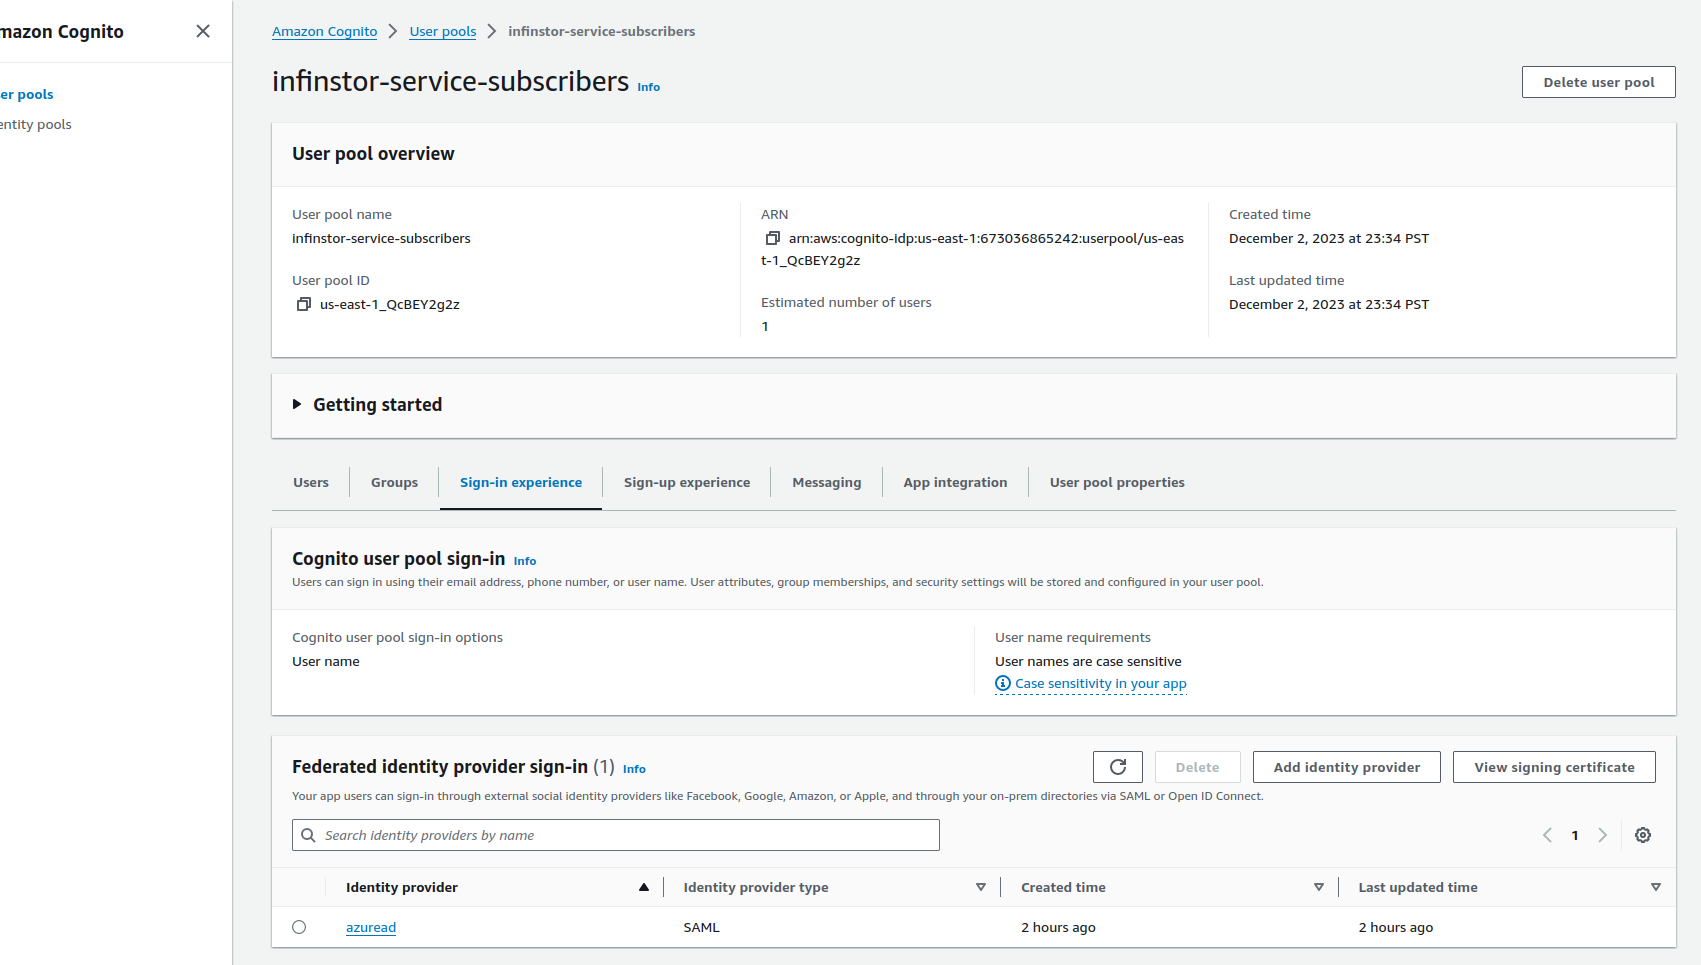
Go back to the AWS Console, browse to Cognito, Manage User Pools and choose the infinstor-service-subscribers User Pool. Click on 'Sign-in experience', and then click 'Add Identity Provider' and choose SAML. Choose the Metadata xml file that you downloaded from Azure Active Directory and name the new provider. Use a simple name such as azuread since this name is prepended to the remote username. For example, if the user is Joe.User@example.com in Active Directory, then the user will be known as azuread_Joe.User@example.com in InfinStor MLflow.
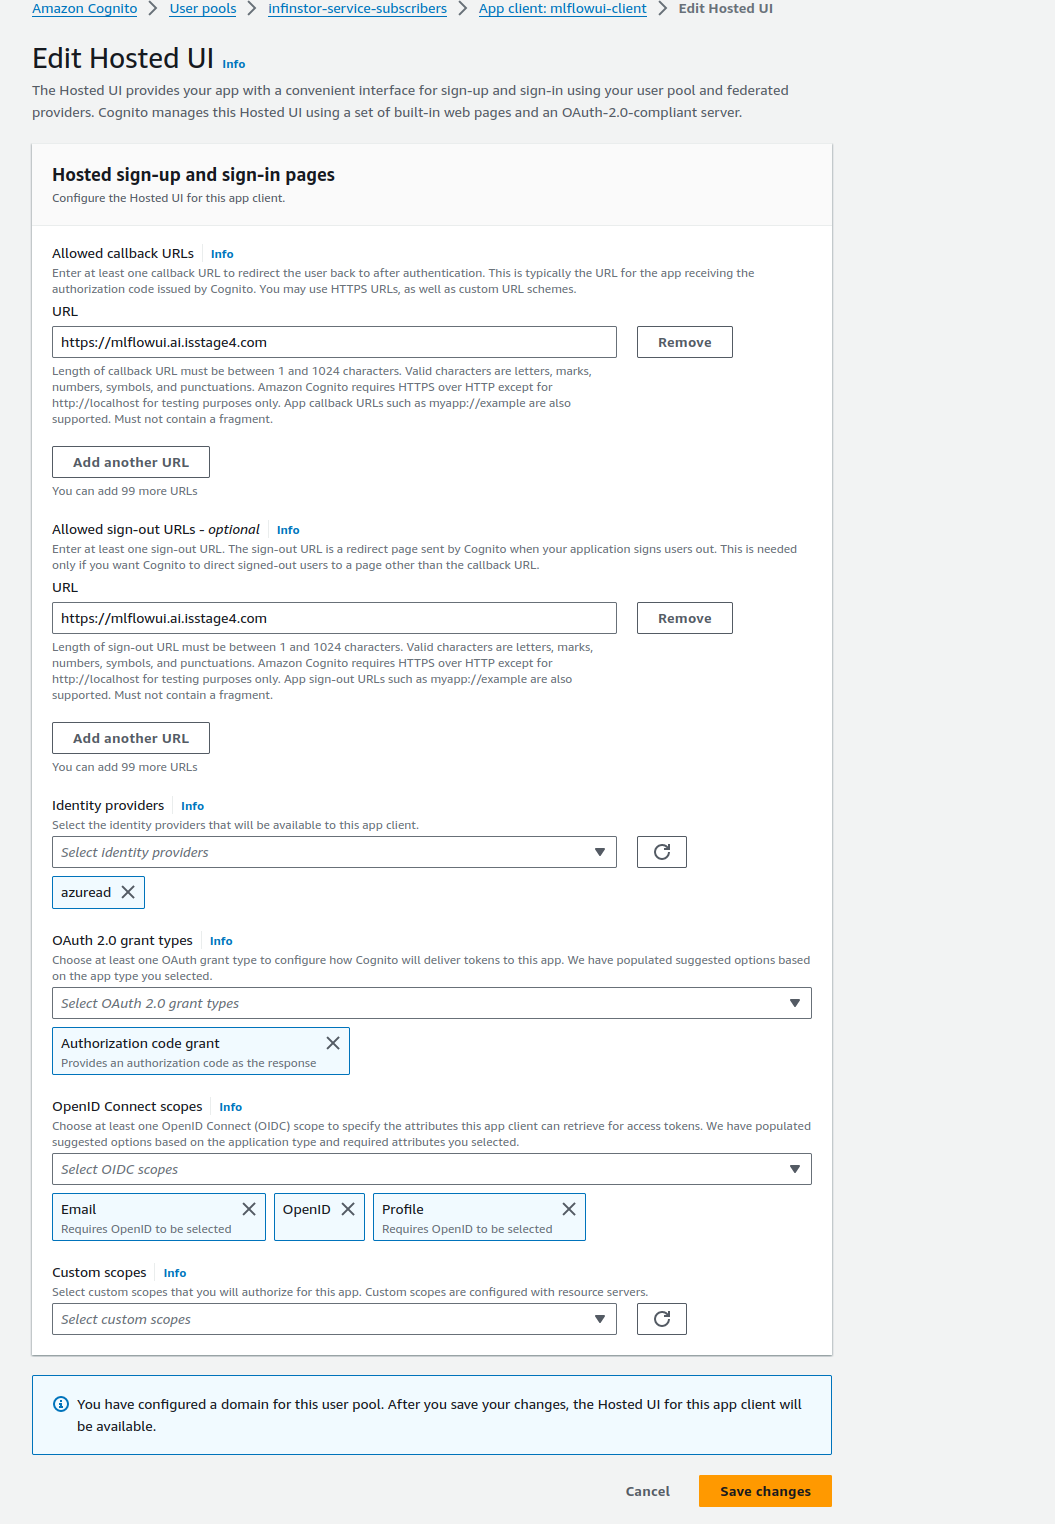
Choose 'App integration' tab subsection and modify the three app clients web-client, cli-client and mlflowui-client. Enable the newly added SAML provider, e.g. azuread in this example. Configure for Authorization Code Grant, and the OpenID Connect Scopes are Email, OpenID and Profile.
You can now login using Azure Active Directory credentials