InfinStor MLflow SaaS Service in the AWS Marketplace
This is a brief outline of the steps required to sign up for and use the InfinStor MLflow service purchased from the AWS Marketplace
Overview
InfinStor MLflow is available through the AWS Marketplace - Click here(new tab)
Purchasing and using the InfinStor MLflow service is accomplished using the following easy steps. A free trial offer is included in the AWS Marketplace.
- Step 1 Subscribe to the free trial or the $120/user/year service on AWS Marketplace
- Step 2 The purchase process will redirect you to our service, where you must create a user account
- Step 3 You will need to run the provided CloudFormation template in your AWS account in order to create the requisite DynamoDB database and S3 bucket
- Step 4 Login and use your InfinStor MLflow service
Note
The first InfinStor account that you create after you signup on AWS Marketplace is the admin account for that subscriber. You can then login to the InfinStor service dashboard as an admin and create Data Scientist accounts. Billing will be for Data Scientists; you will not be billed for the admin account.
Screencapture video of signup and initial configuration
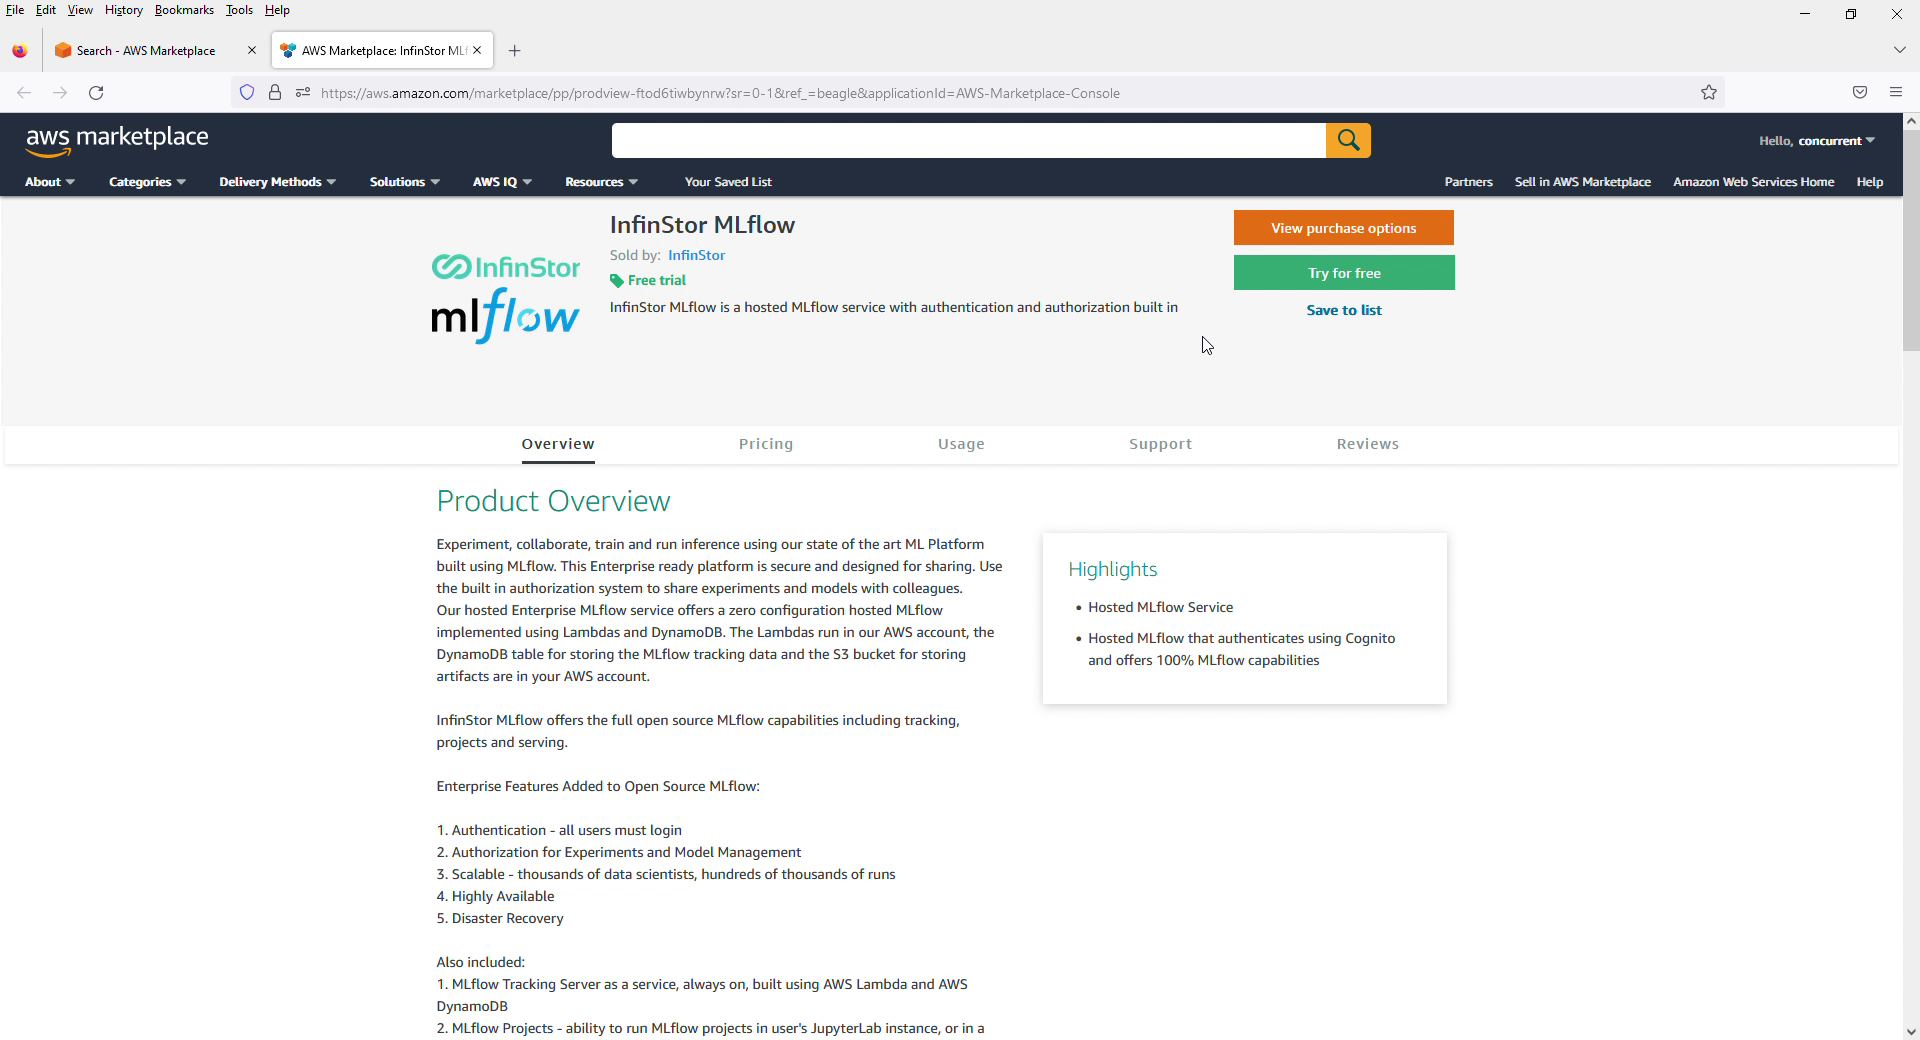
The InfinStor MLflow service on AWS Marketplace
InfinStor MLflow is available through the AWS Marketplace - Click here(new tab)
Try for Free, or view purchase options
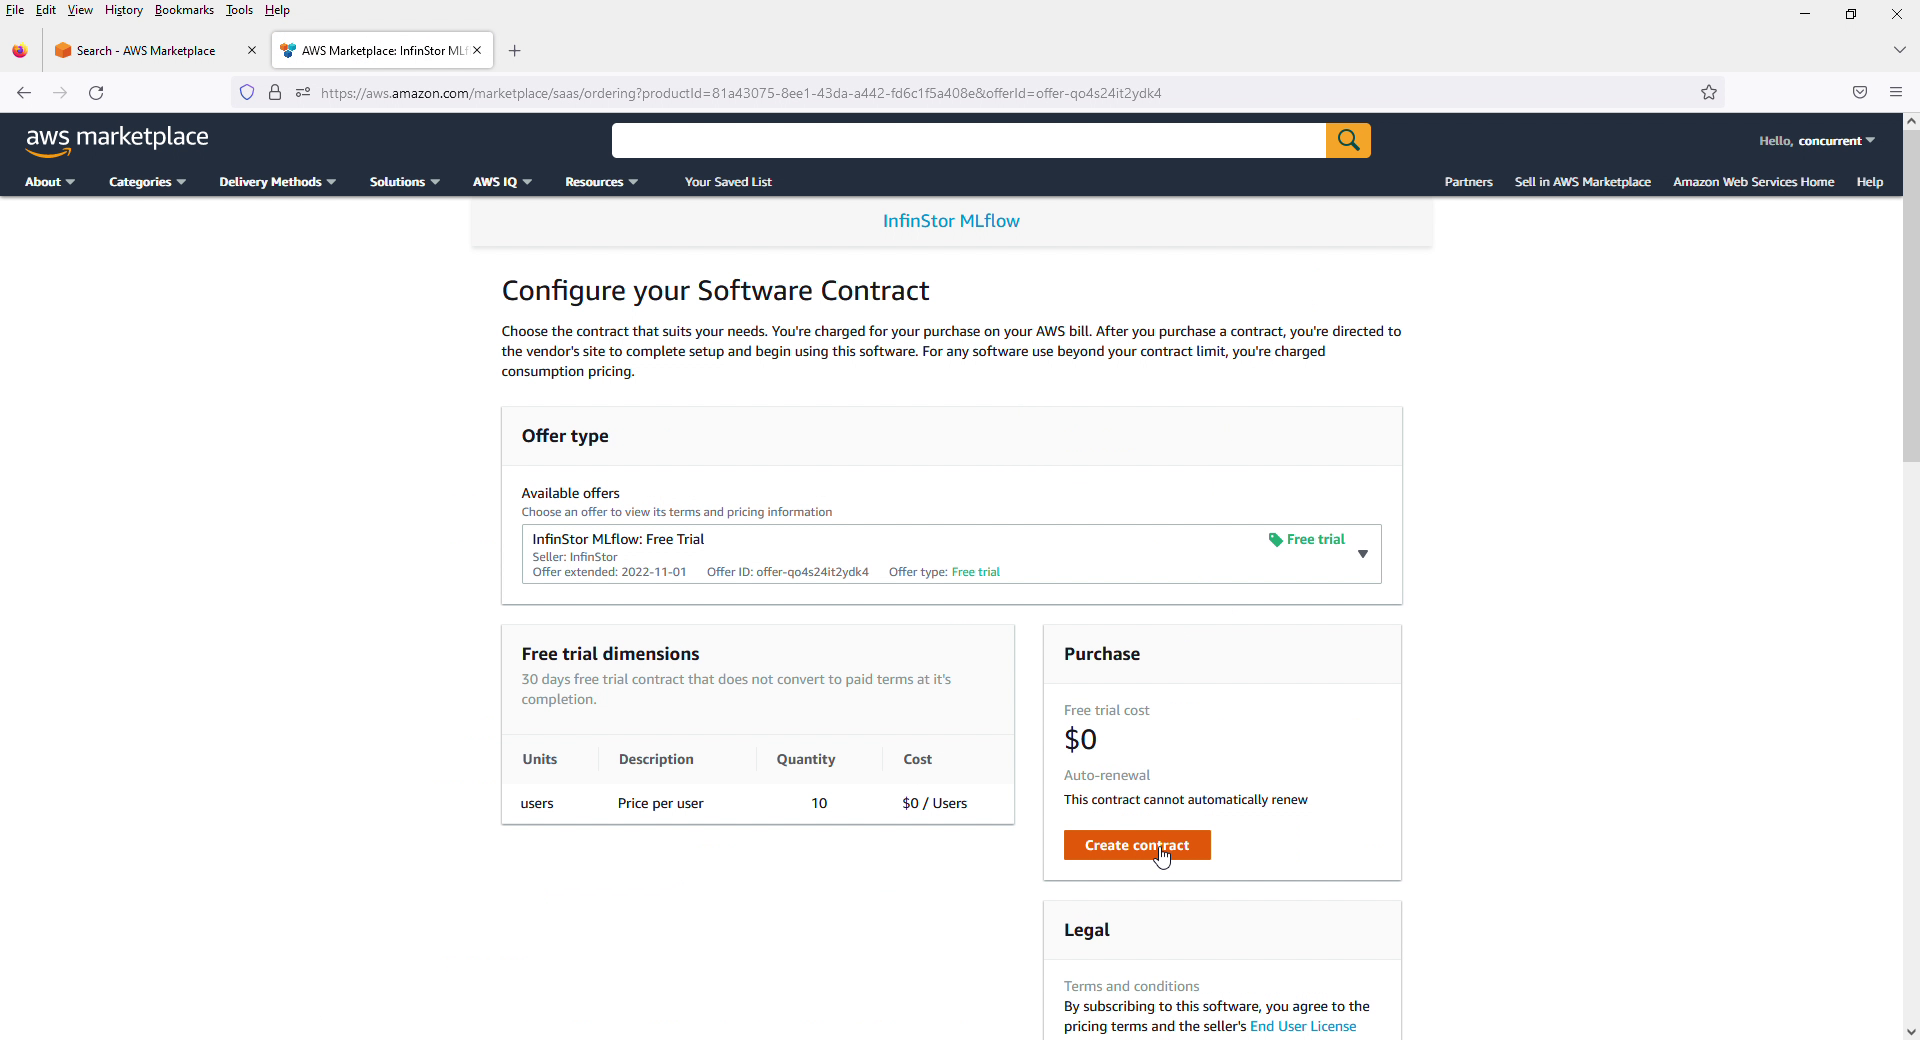
Once you decide between the two options above, you will be presented with the screen below
Click on Create Contract
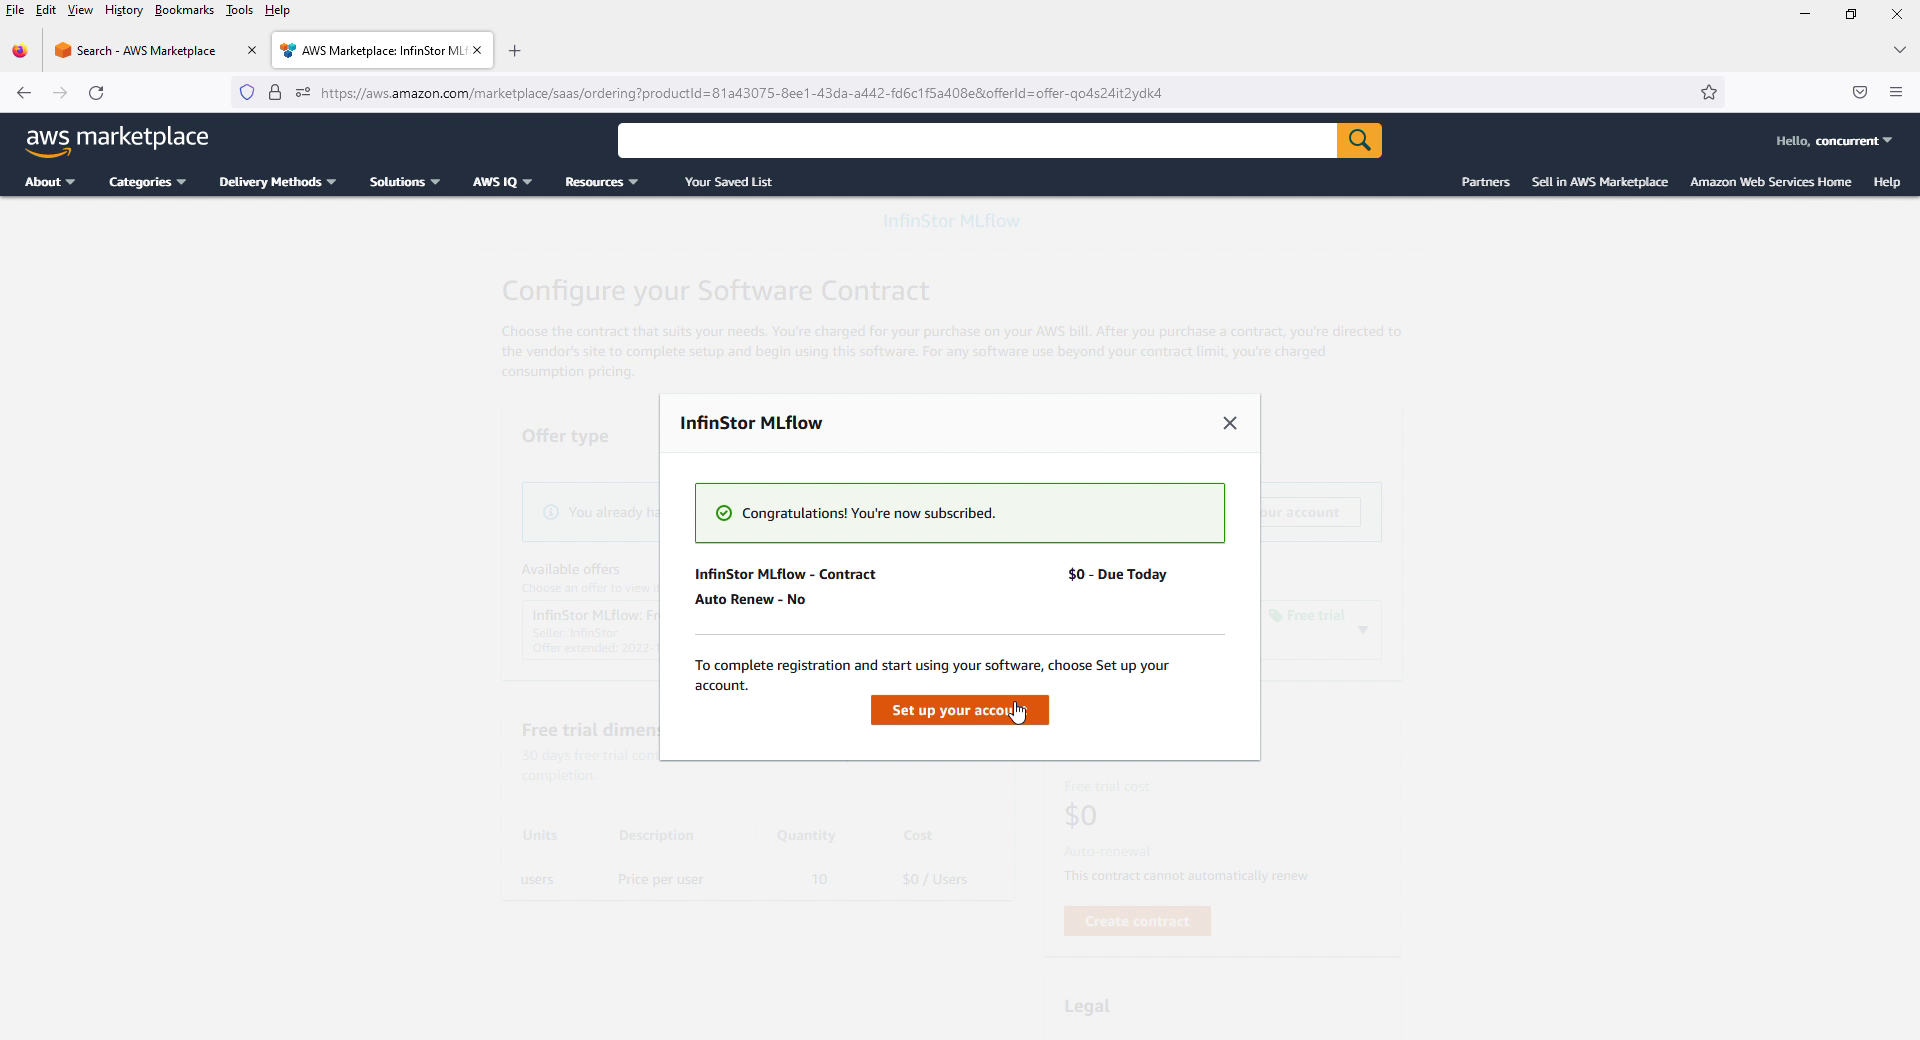
Accept Contract
Click on Accept Contract
Setup your account
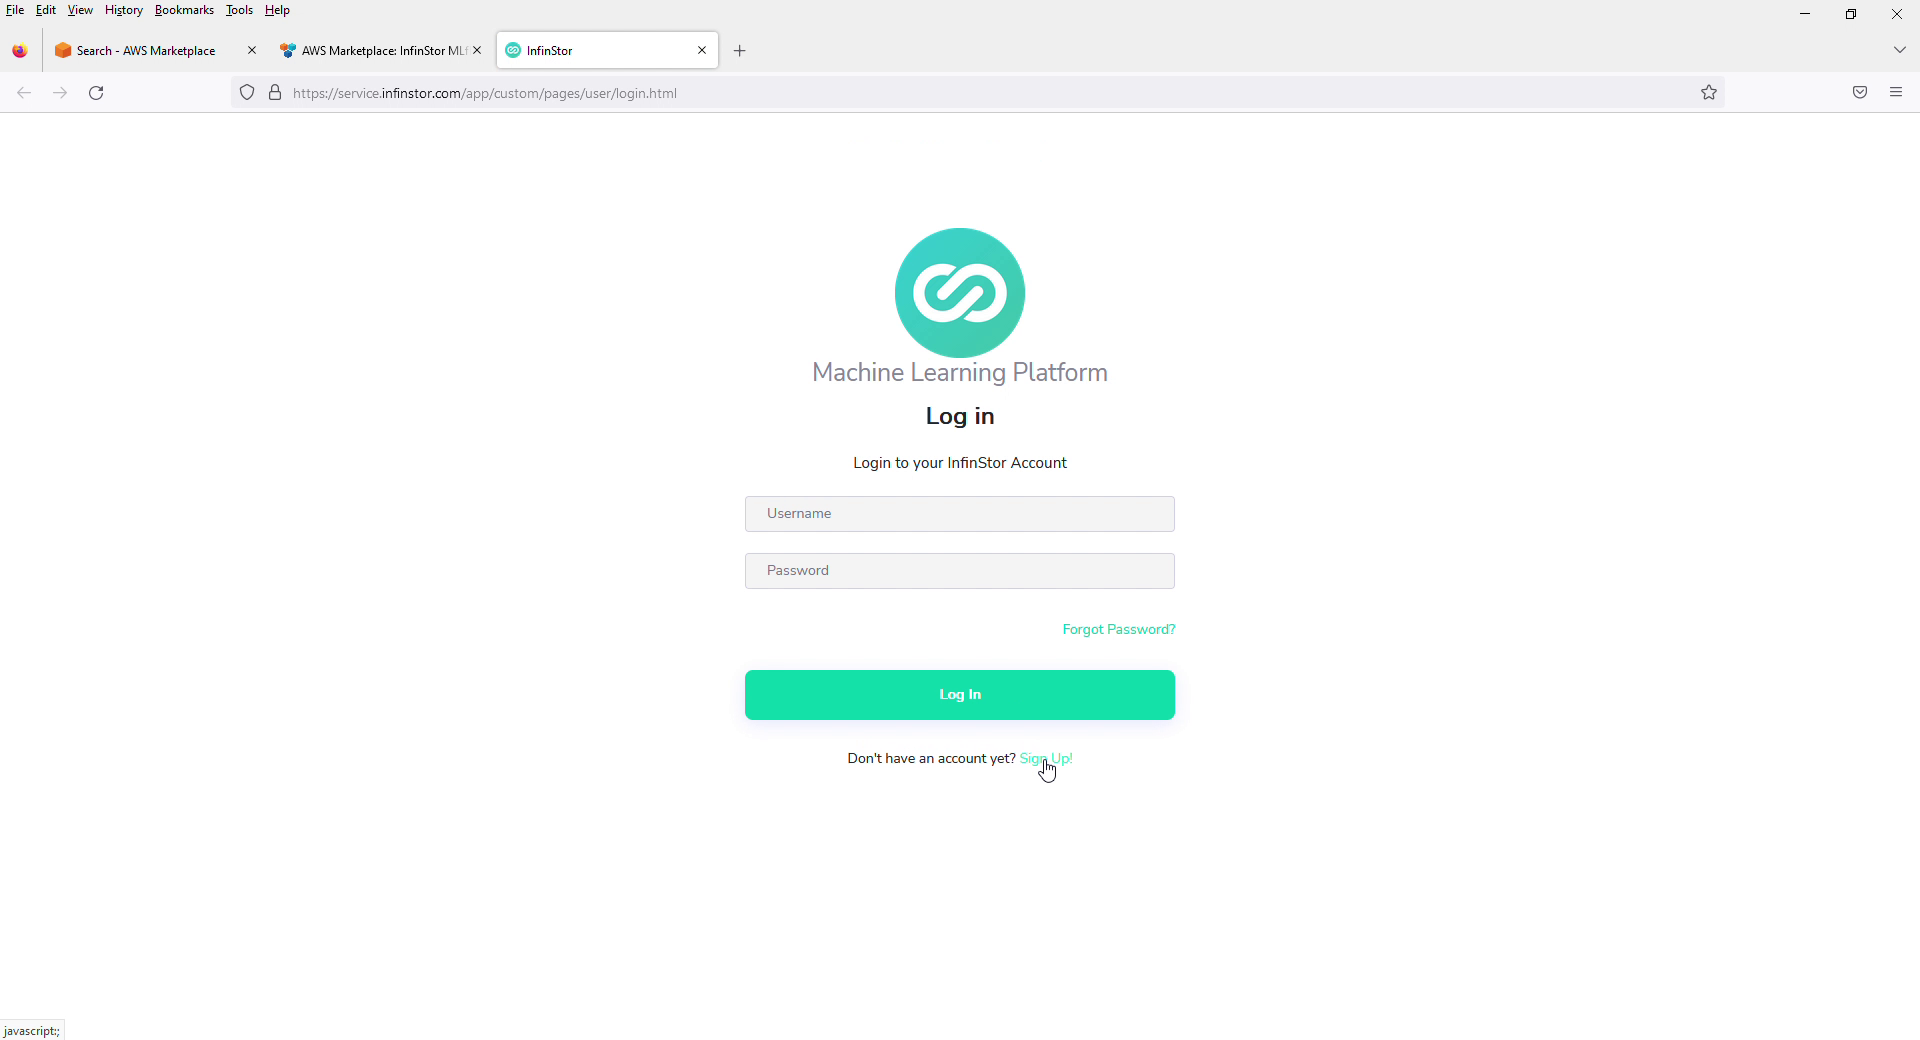
Now you will be presented with the Setup your account button. Press this button and you will be redirected to InfinStor MLflow service dashboard as shown below
Create InfinStor Account
The service dashboard is the admin interface and you can use it to setup the AWS Account, add users etc. As the first step you need to create a user account by clicking on the Sign up link. You will need to provide an email address for the confirmation code
InfinStor MLflow Service Dashboard
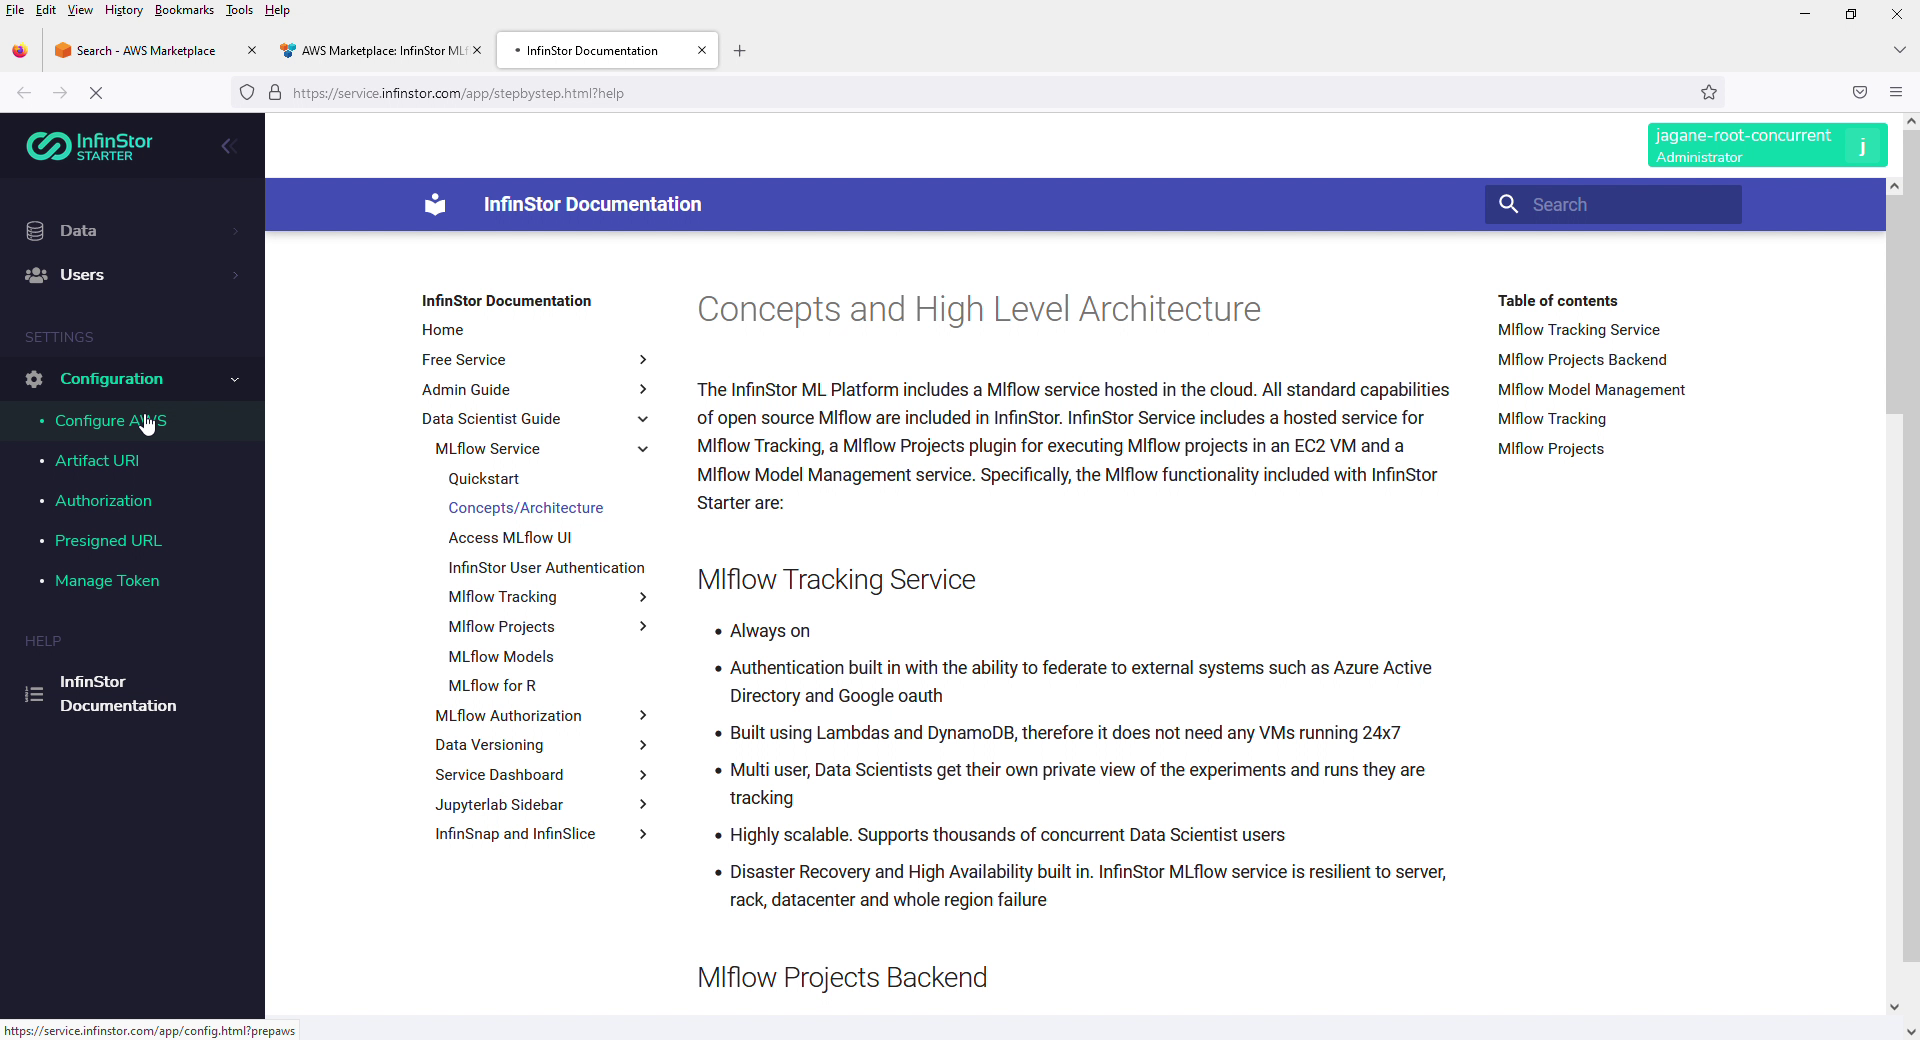
Once you login to the dashboard with your new account, you will be presented with the help screen. On the left navigation bar, there is a link titled Configure AWS. Click on that link
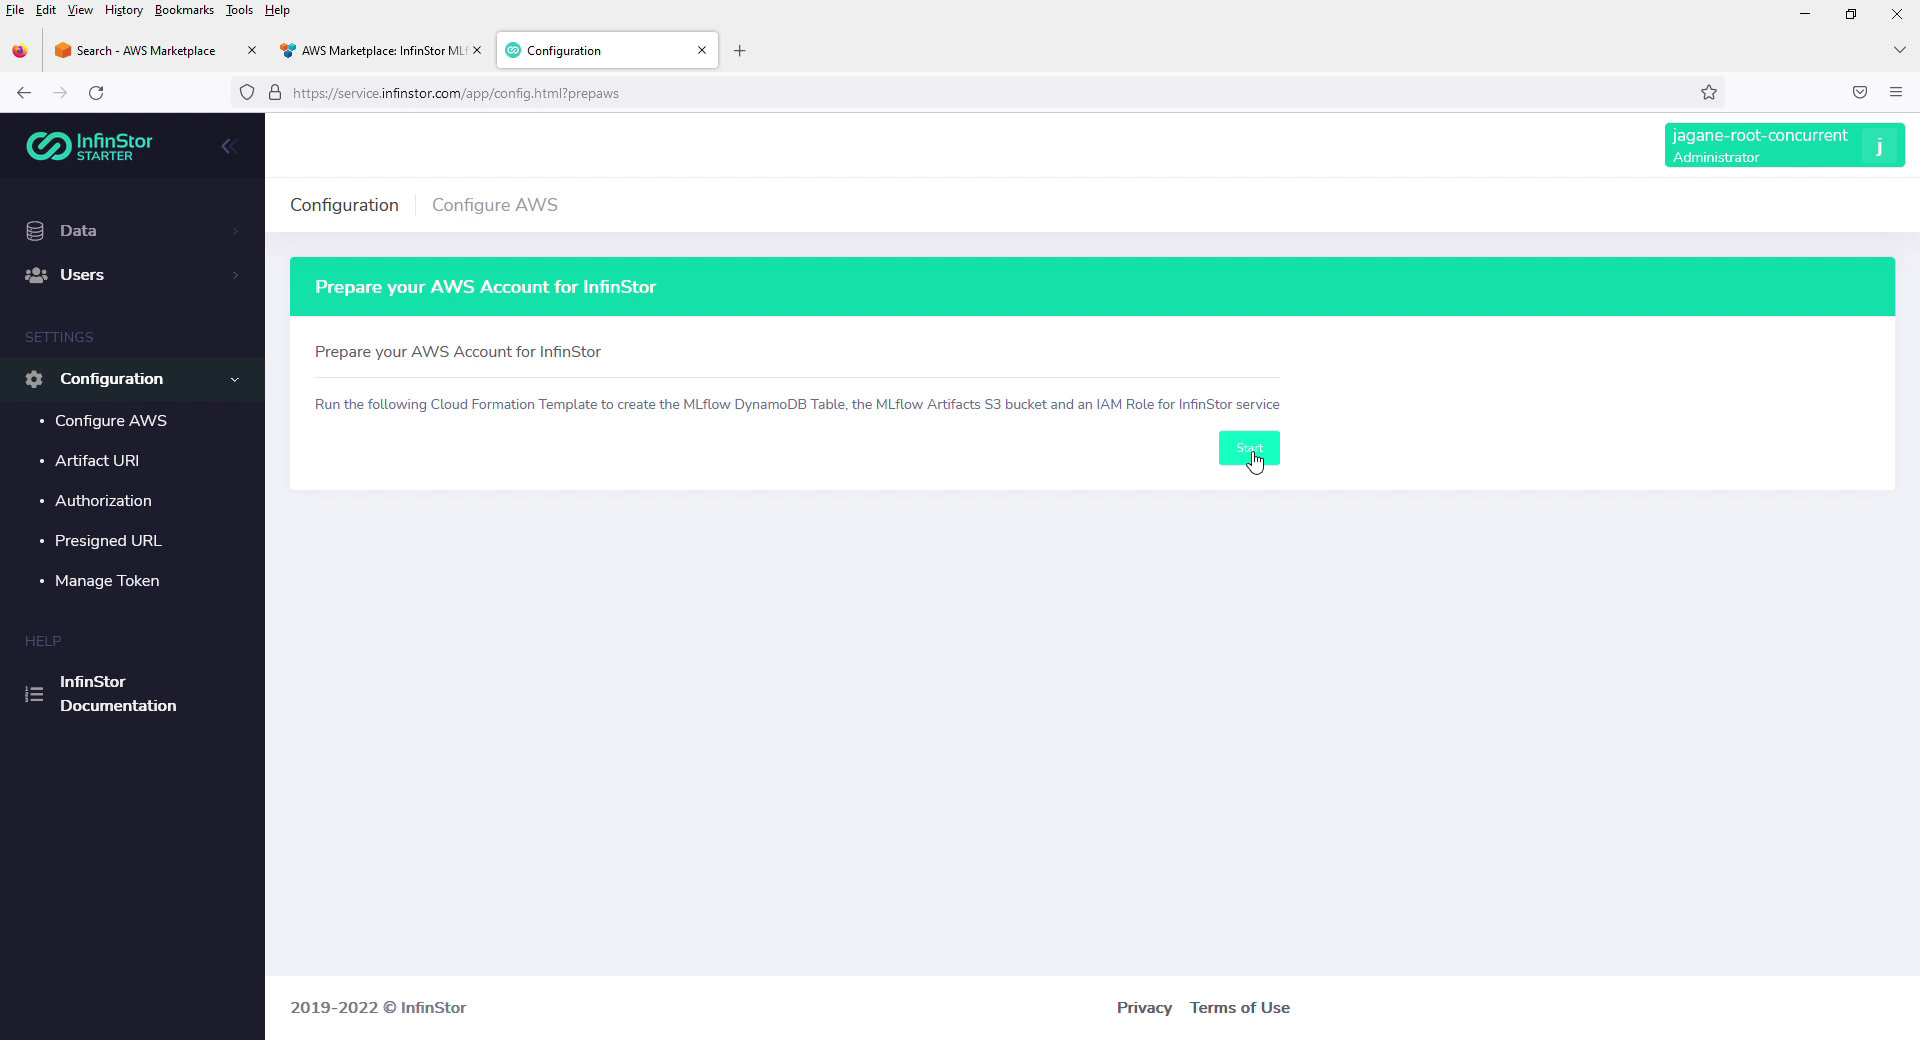
Prepare AWS Account for InfinStor
Once you login to the dashboard with your new account, you will be presented with the help screen. On the left navigation bar, there is a link titled Configure AWS. Click on that link. Then click on the Startbutton.
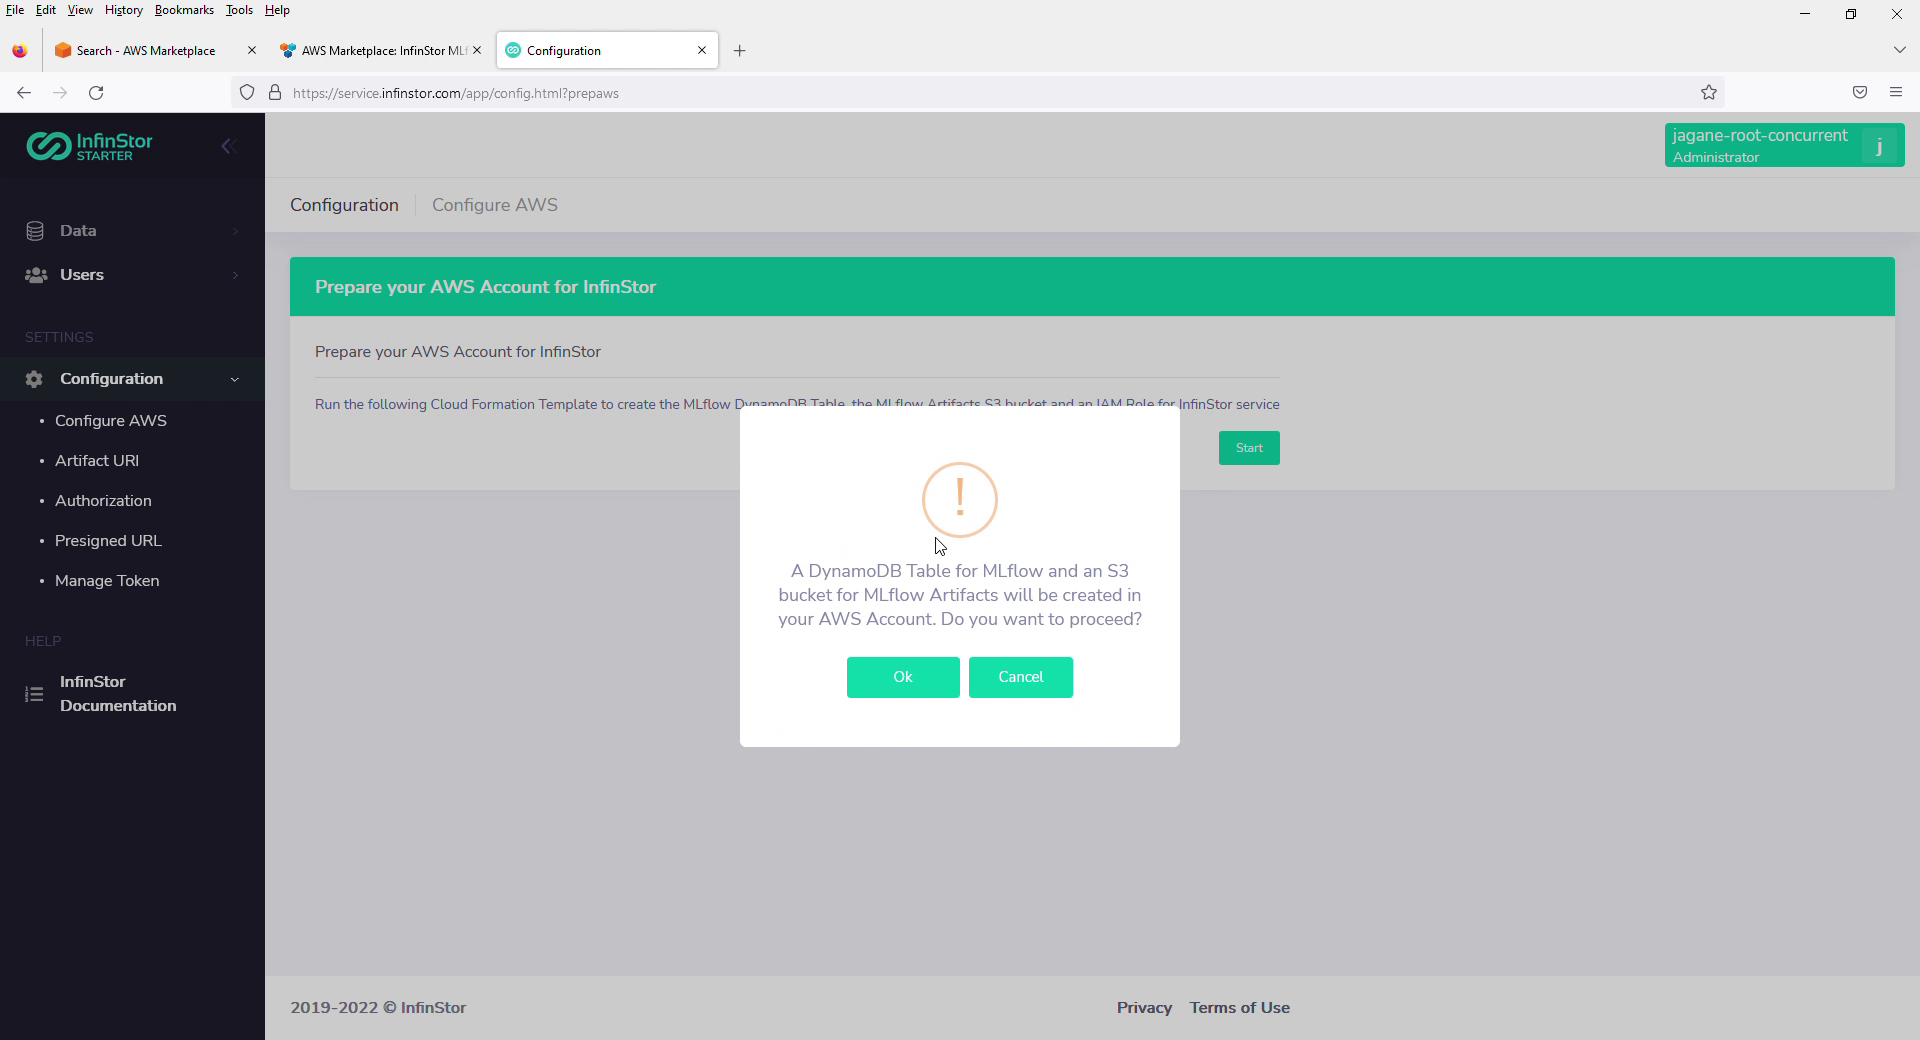
Informative Message - DynamoDB Table and S3 Bucket
At this point you will be presented with an informative pop-up that informs you of the dynamodb table and S3 bucket that is going to be created in your own AWS account. Click through.
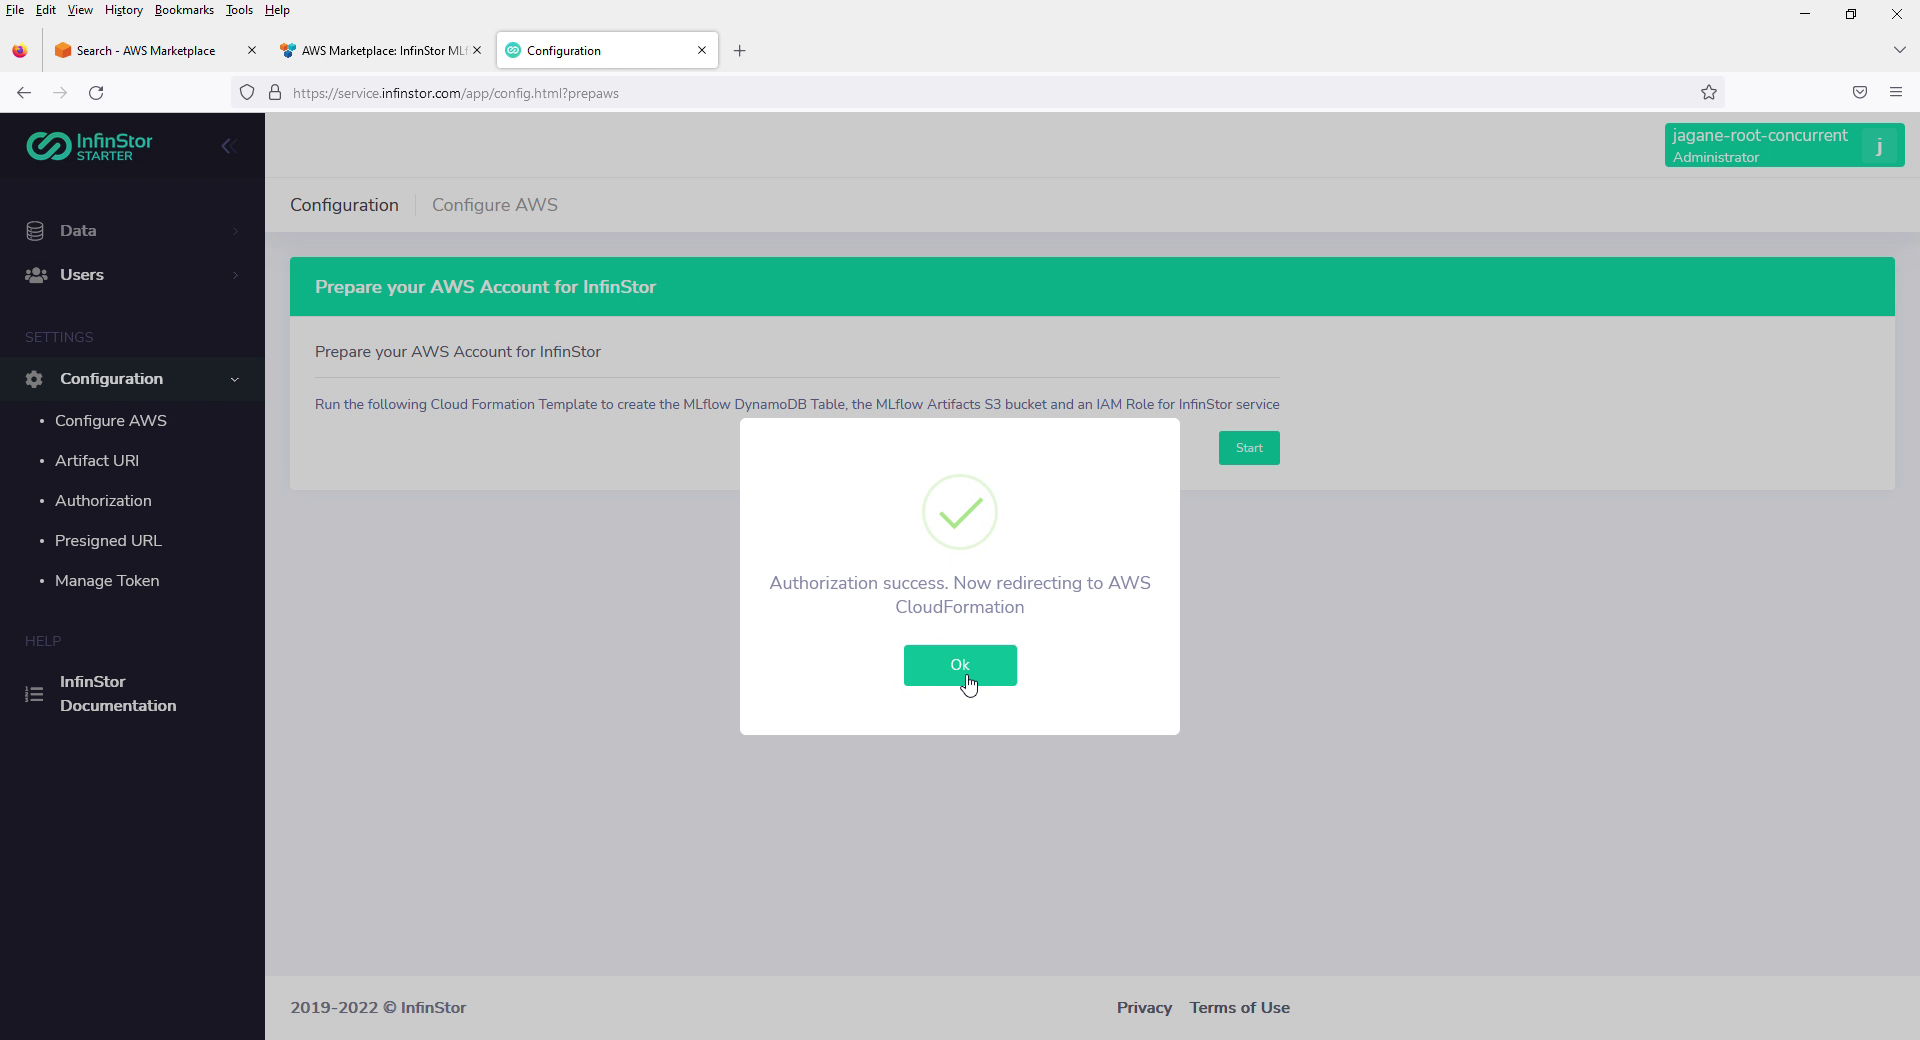
Authorization
There is another informative message indicating that authorization succeded. Click through and you will be redirected to your AWS CloudFormation console.
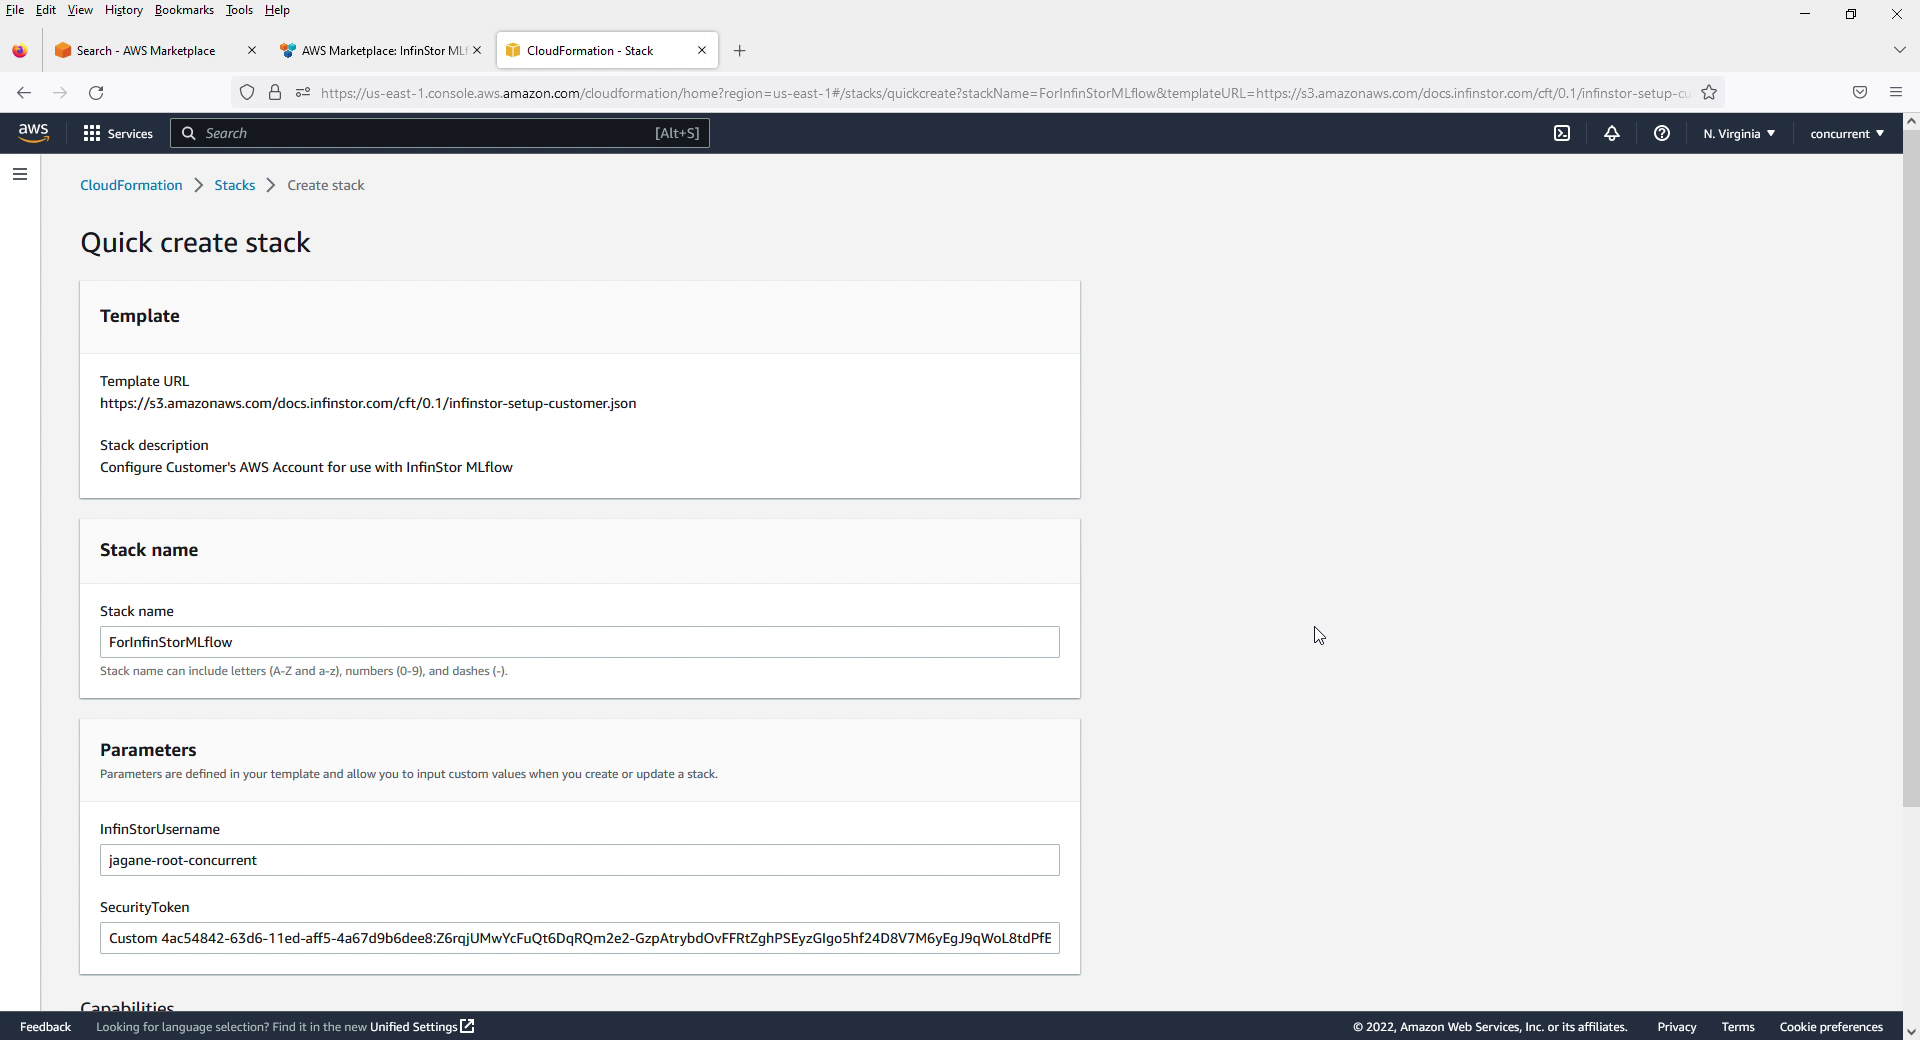
CloudFormation Quick Create Stack ForInfinStorMLflow
Here is a screen capture of your CloudFormation console with the auto-loaded template ForInfinStorMLflow
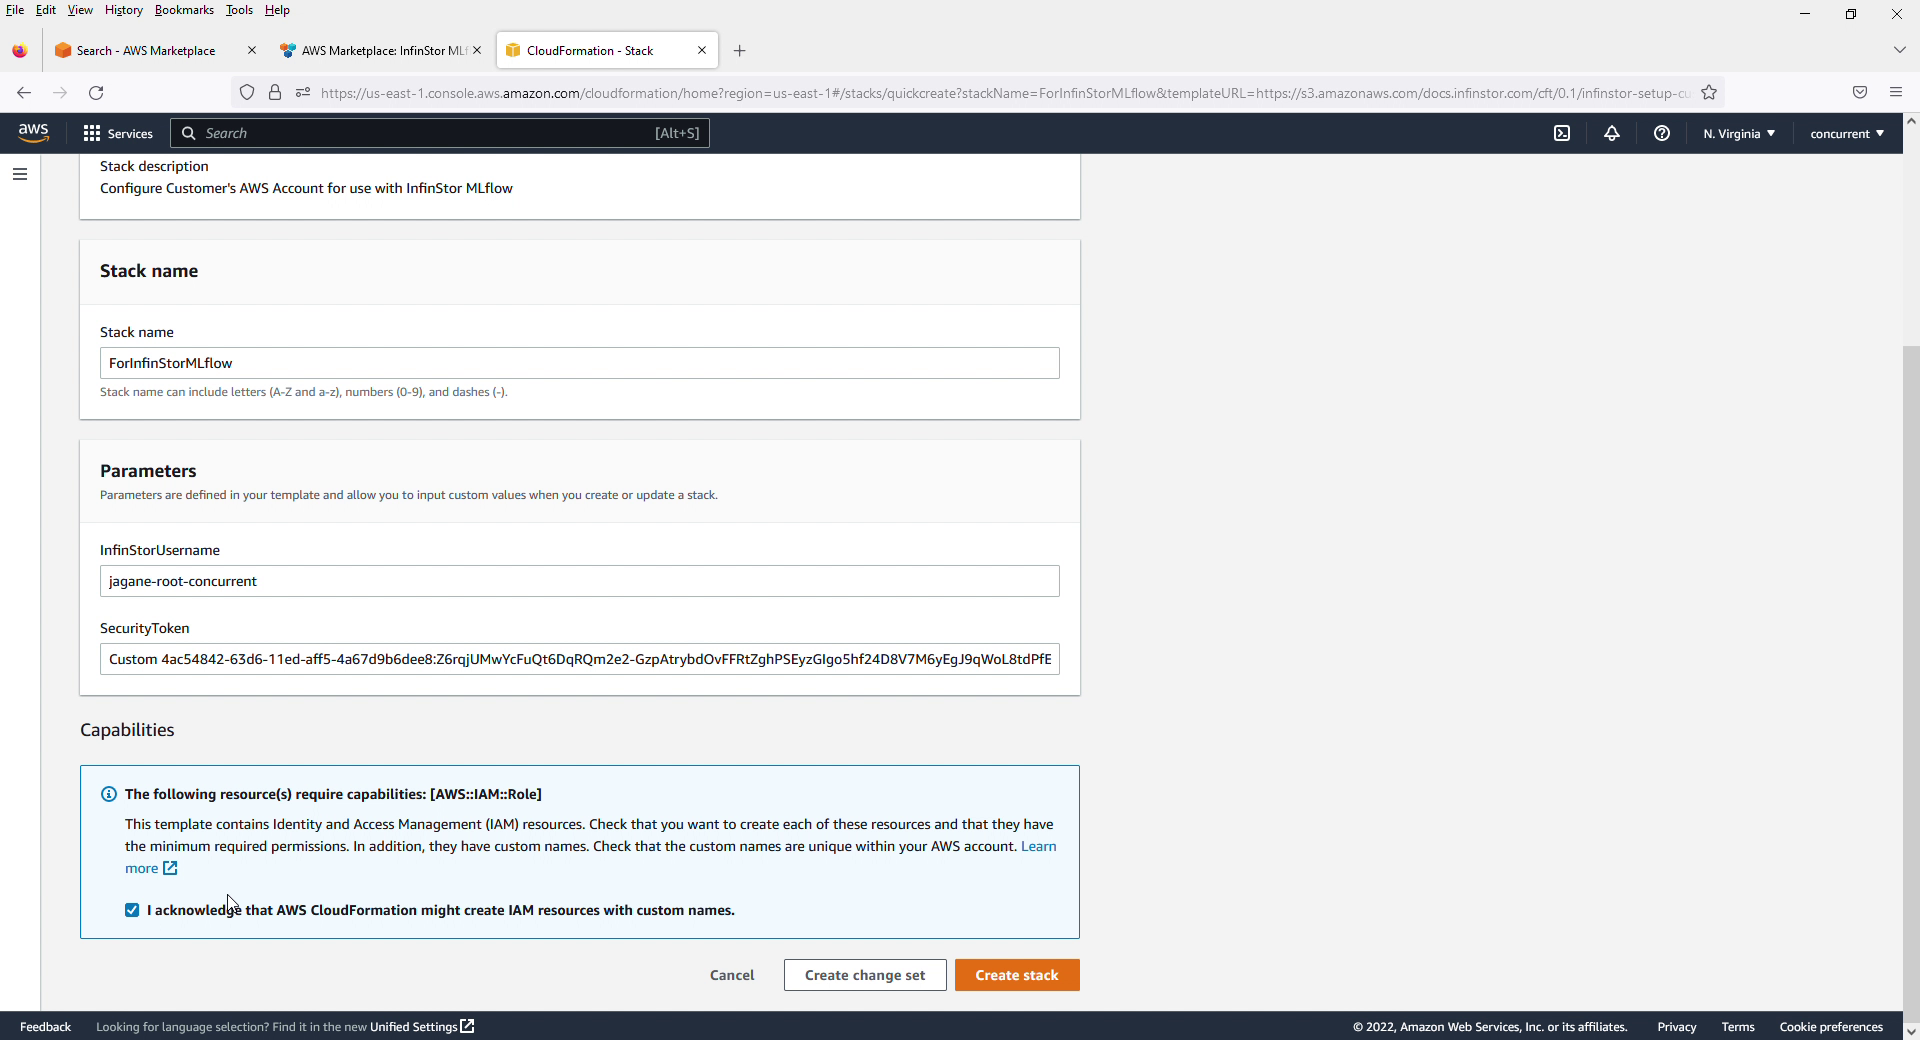
Check off the 'IAM Resources with custom names' acknowledgement
Be sure to check the 'IAM Resources with custom names' acknowledgement that CloudFormation presents and then press Create Stack
Stack Creation Complete
Here is a screen capture with the Stack Creation Complete message
Login to the MLflow UI
InfinStor MLflow Web UI is available here - Click here(new tab)
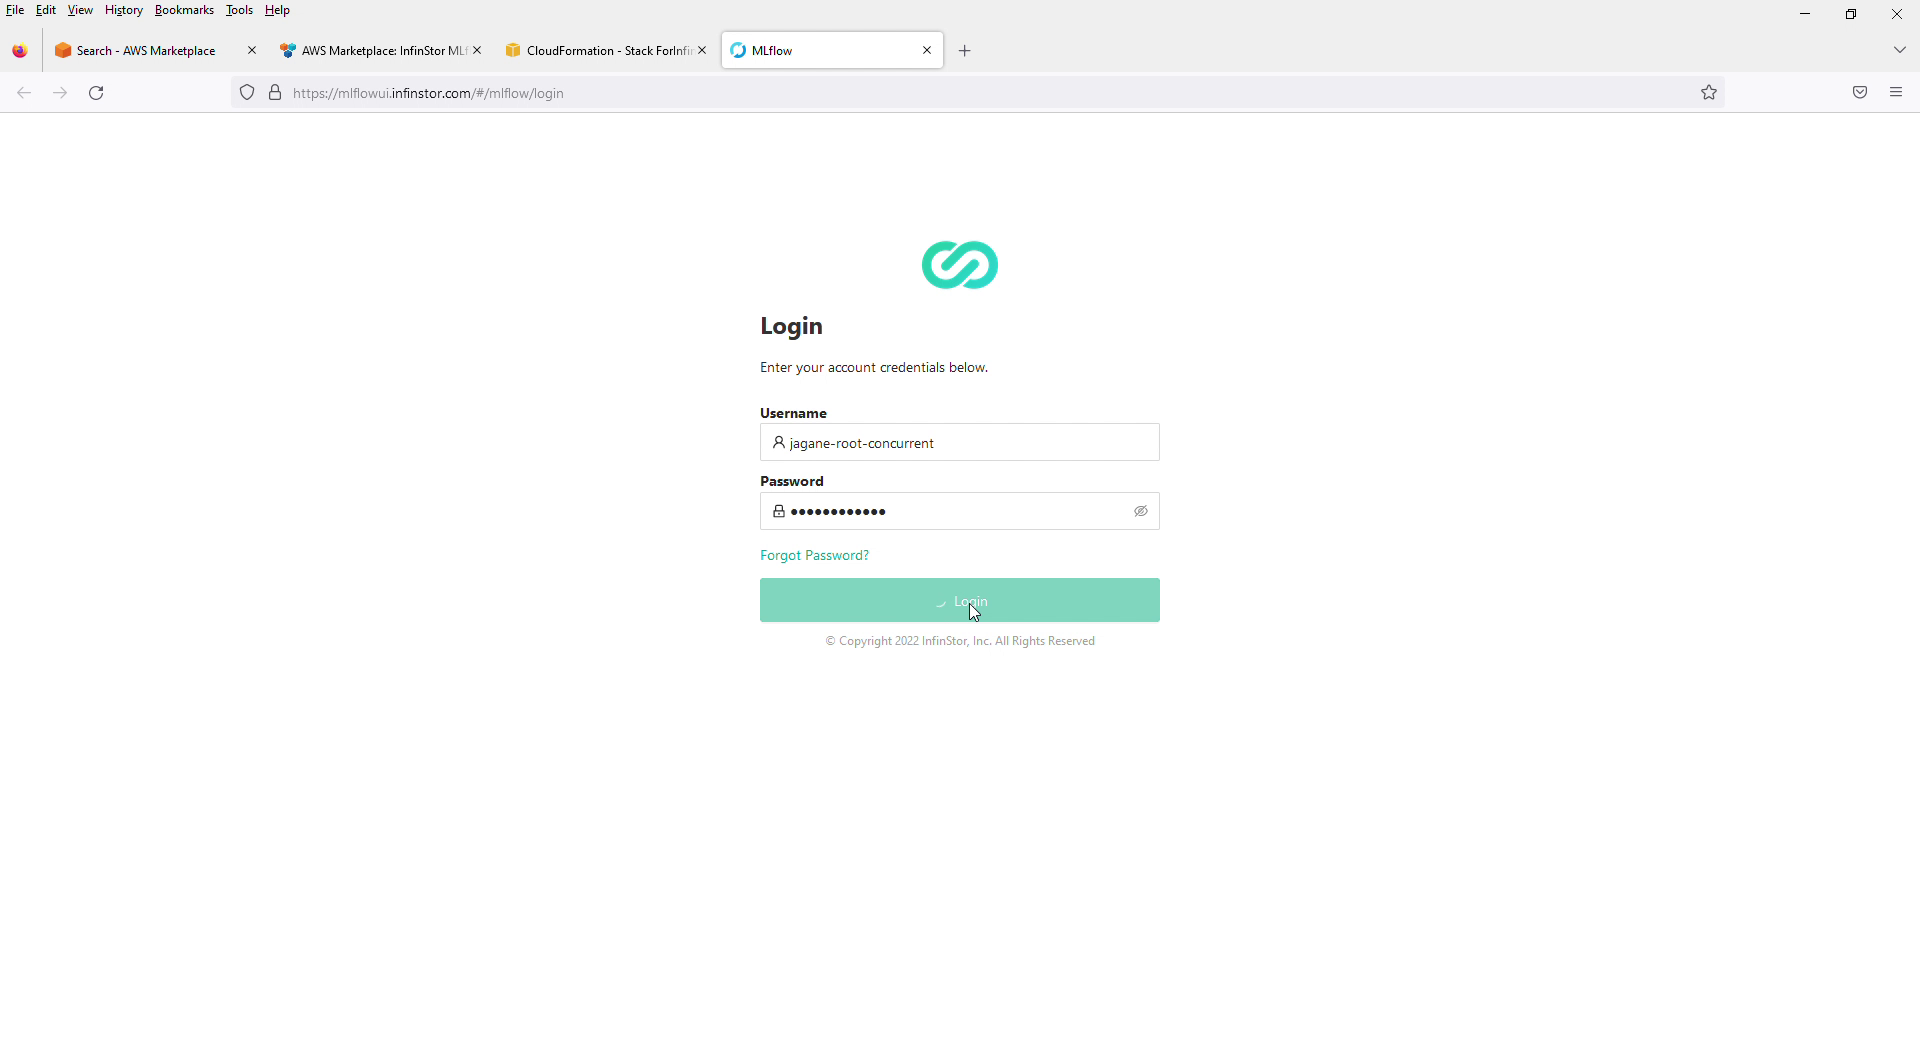
Login using your credentials
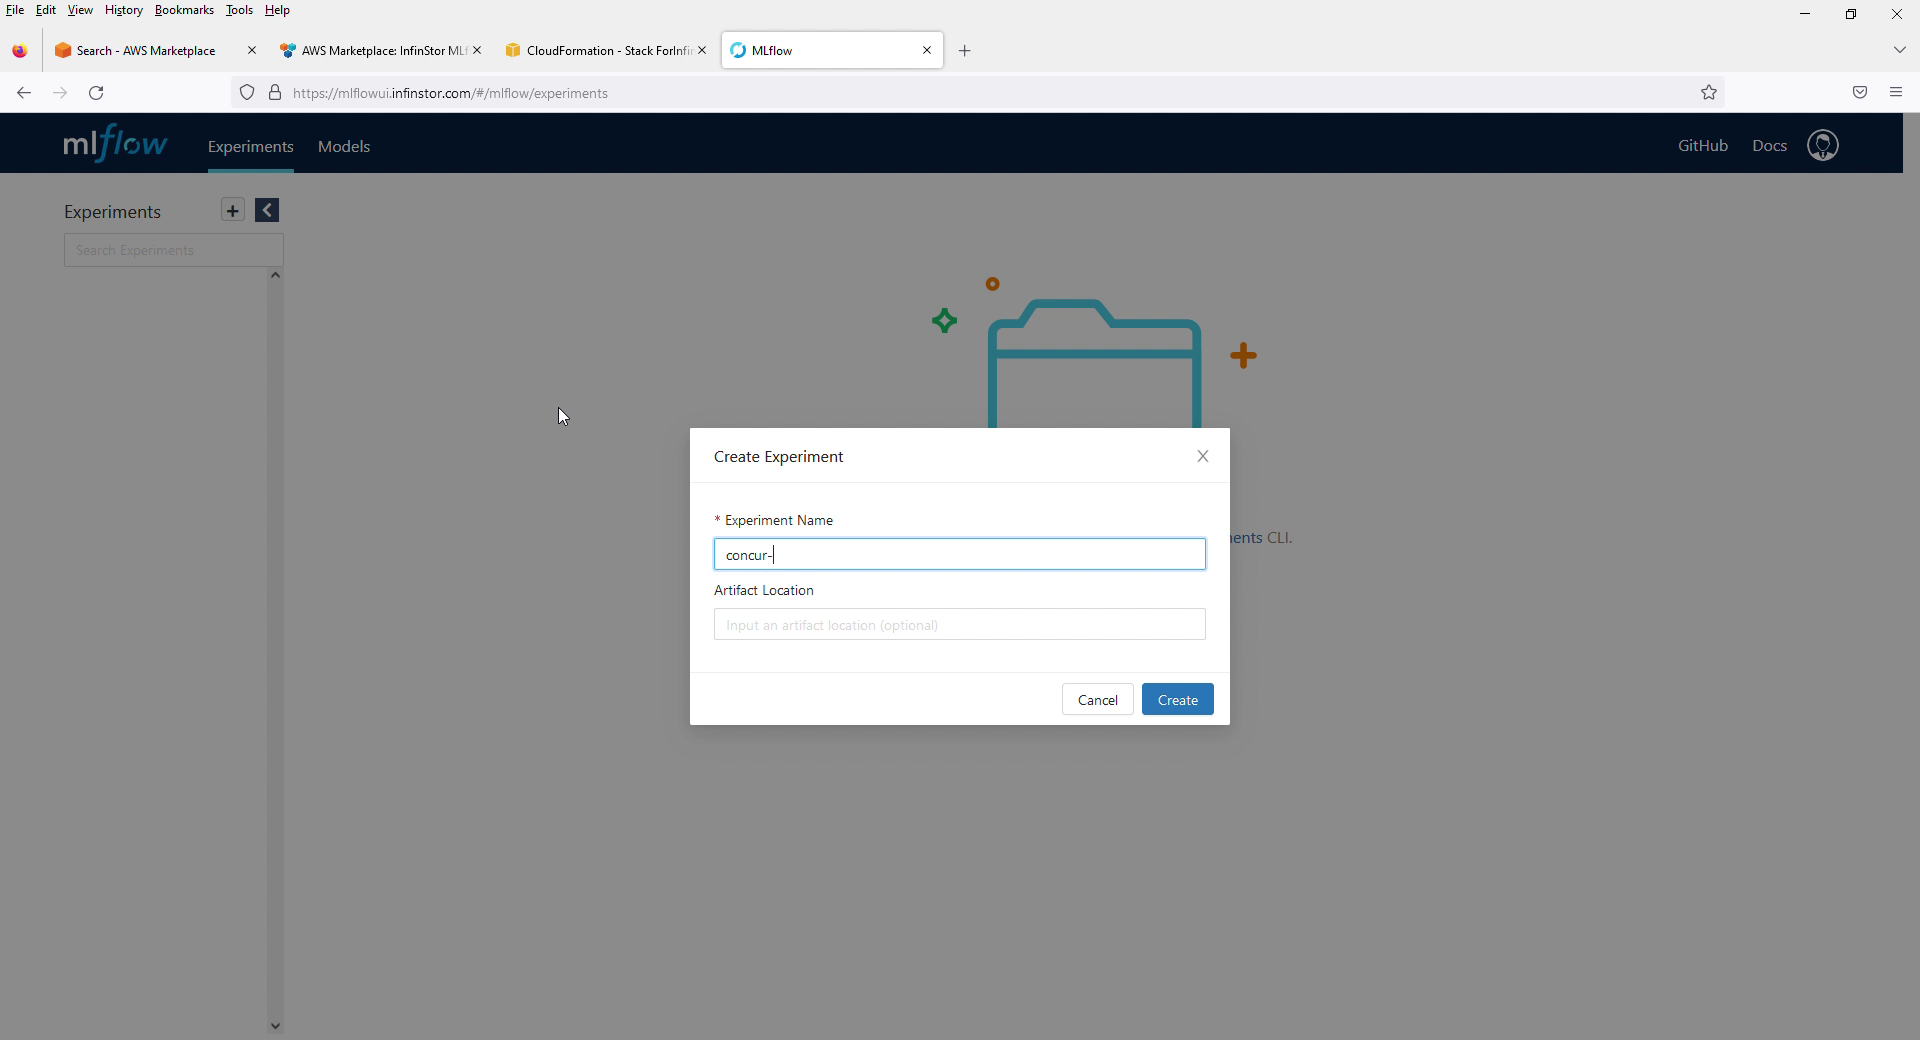
Create an experiment
Use the InfinStor MLflow Web UI to create an experiment - press the plus button on the top left to do so.
That's all folks
